HOW TO INSTALL NS 2.33 PACKAGES IN UBUNTU
To import NS-2.33_ packages in NS2 tool , you can get guidance from our developers to apply it in your research work. Network Simulator 2 (NS2) is a prominent open-source discrete event network simulation tool. Initially developed as part of the VINT (Virtual Inter-Network Testbed) initiative, NS2 serves as a platform for simulating various network protocols, routing strategies, and traffic patterns. This simulator allows users to design tailored network topologies and examine the performance of protocols through comprehensive statistical analysis. NS2 continues to be a fundamental resource in network simulation, facilitating progress in domains such as mobile networking, the Internet of Things (IoT), and protocol development.
PRE-REQUISITES:
- Fresh installation of Ubuntu 16.04 LTS:
Screenshot:

2.Download ns-allinone-2.33.tar.bz2 file:
We have to download the ns-allinone-2.33.tar.bz2 under home directory by the clicking the Link, it will directly download to Download Location and move the compressed file to the home Directory.
Screenshot:
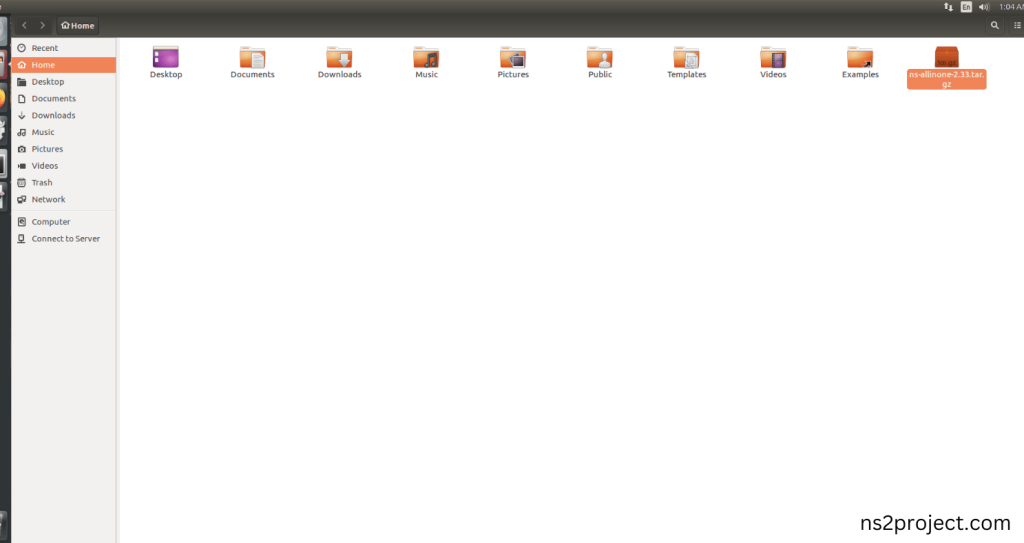
3.Extraction of the ns-allinone-2.33.tar.bz2 file:
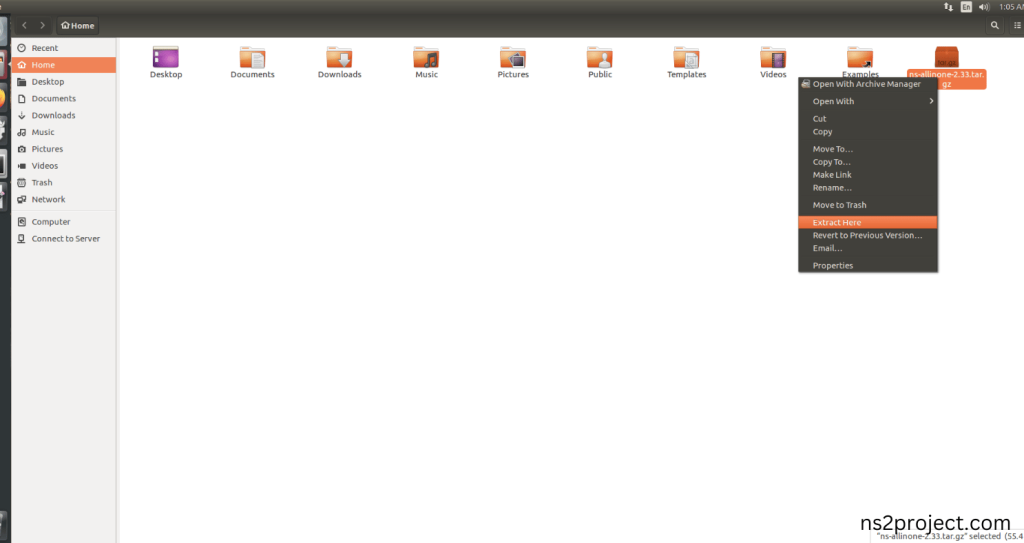
Next, we have to extract the compressed file by right click and click Extract here to extract the ns-allinone-2.33 as folder in the home directory.
Screenshot:
Screenshot:
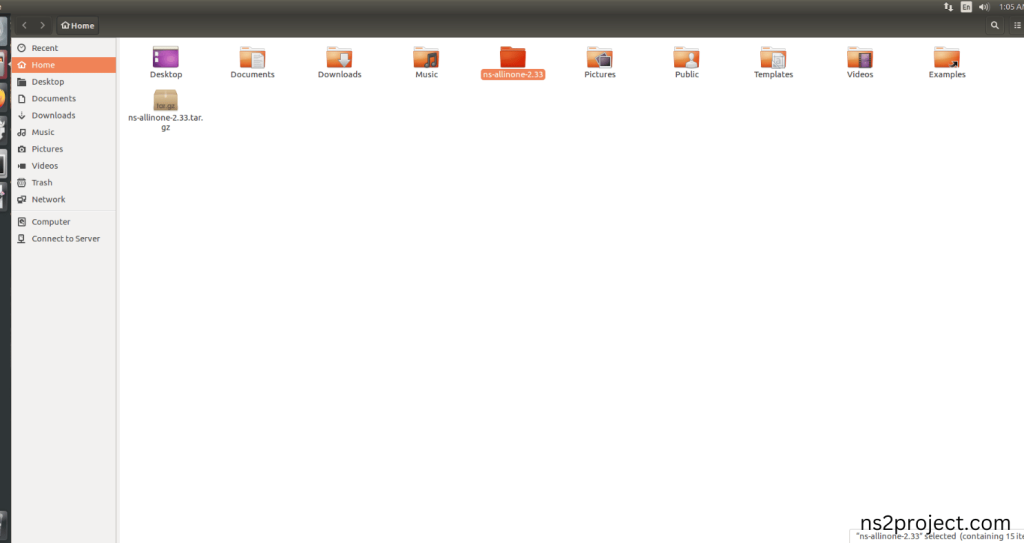
ns-allinone-2.33 compressed file Extracted Successfully in the home directory.
INSTALL DEPENDENCIES OF NS2:
- Open a terminal, Copy and Paste the commands to install required package:
Screenshot:
2.System File Update Command:
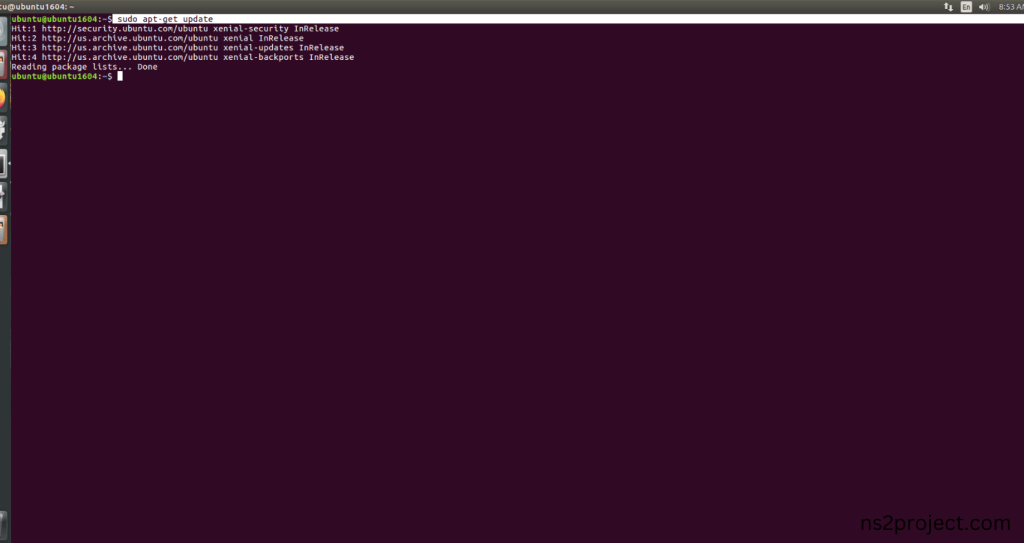
First of all, we need to updates the list of available packages and their versions stored in the system’s package index. Use below command to update the system package.
Command: “sudo apt-get update”
Screenshot:
3.Install Essential Tools:
- build-essential: A package containing essential tools for compiling software on Ubuntu, including GCC, g++, and make.
- autoconf: A tool for automatically configuring source code packages to adapt to various UNIX-like systems.
- automake: A tool that automatically generates Makefile.in files, simplifying the creation of portable makefiles.
- libxmu-dev: A development package for the X11 Athena Widget library, providing miscellaneous utility functions for X Window System programs.
Command: “sudo apt-get install build-essential autoconf automake libxmu-dev”
Screenshot:
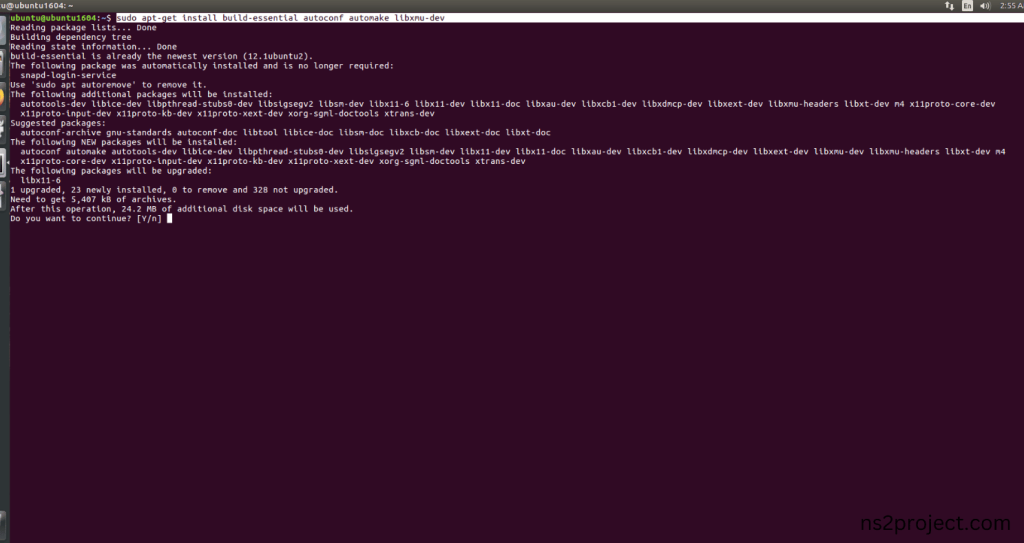
Click the key Y to install the required Essentials tools for giving permission to install the package in the user system.
Screenshot:
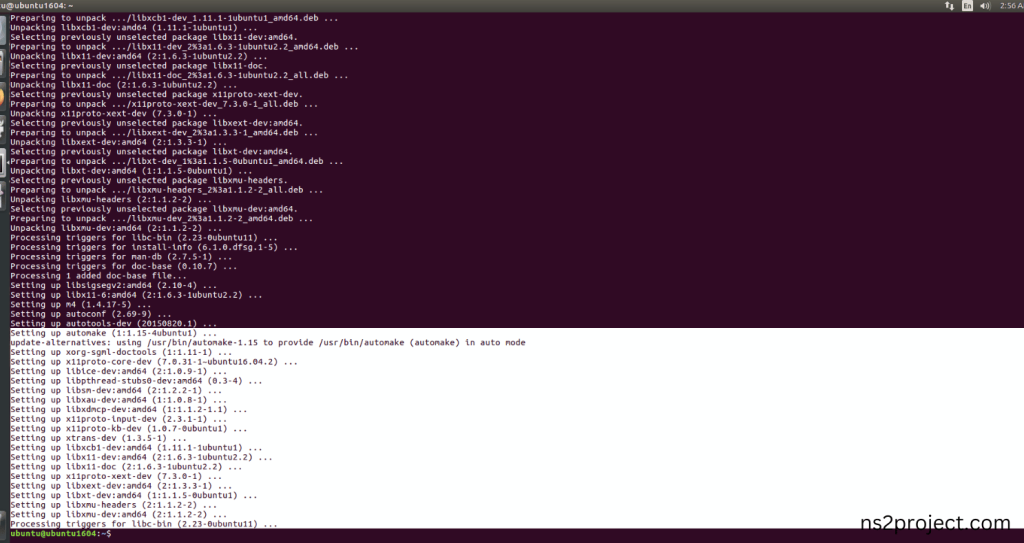
Installation of the Essential tools package completed successfully.
INSTALL NETWORK SIMULATOR 2 (NS2):
- Locating the ns-allinone-2.33 Folder:
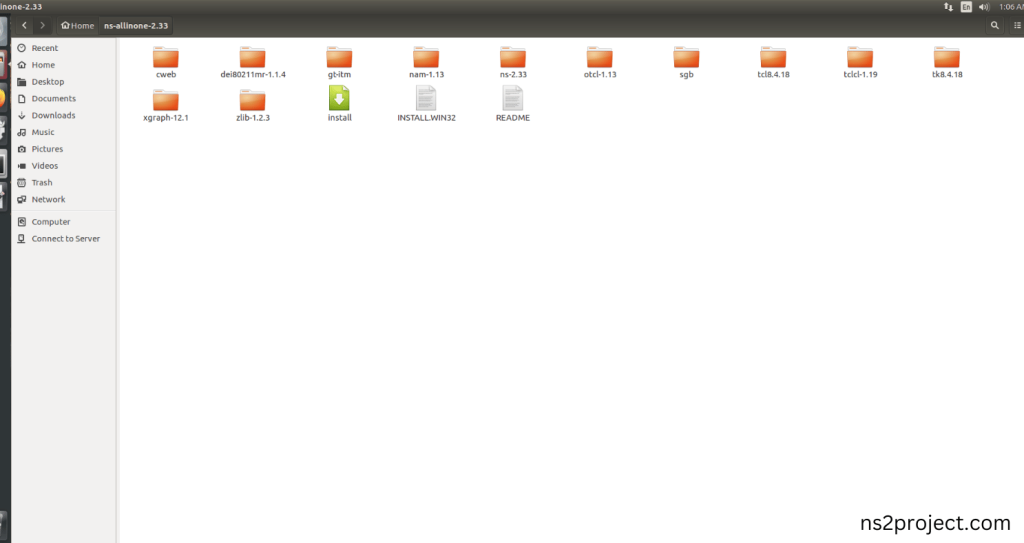
Next, we need to install the NS 2 in our system so locate the Extracted ns-allinone-2.33 folder in the home directory.
Screenshot:
2.Launching the terminal in the ns-allinone-2.33 Folder:
Then Right Click in the current Directory and select the “Open in Terminal” button and it will launch the terminal.
Screenshot:
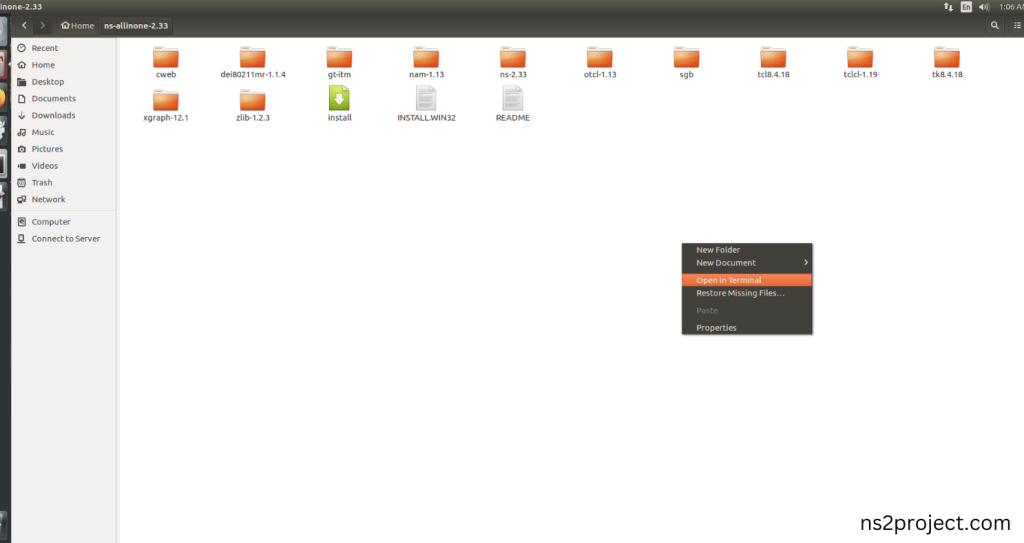
Here, we launched the terminal by that button in the folder.
Screenshot:
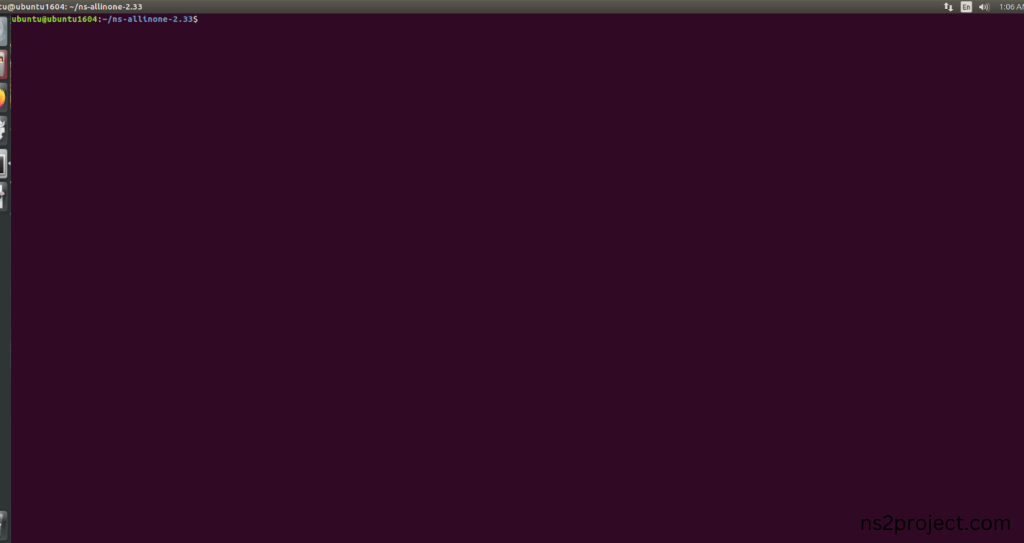
3.Modification of ns2.33 Code:
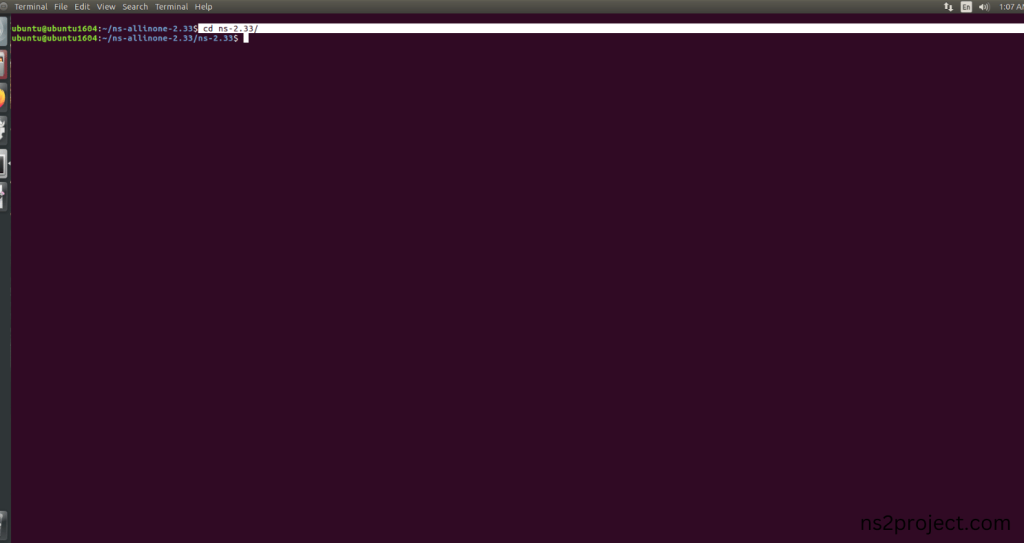
Next, we need to modify the Ns-2.33 to install the network simulation 2 Environment in the User system and it will resolve some dependency errors. First of all, locate to the Ns-2.33 folder.
Command: “cd ns-2.33”
Screenshot:
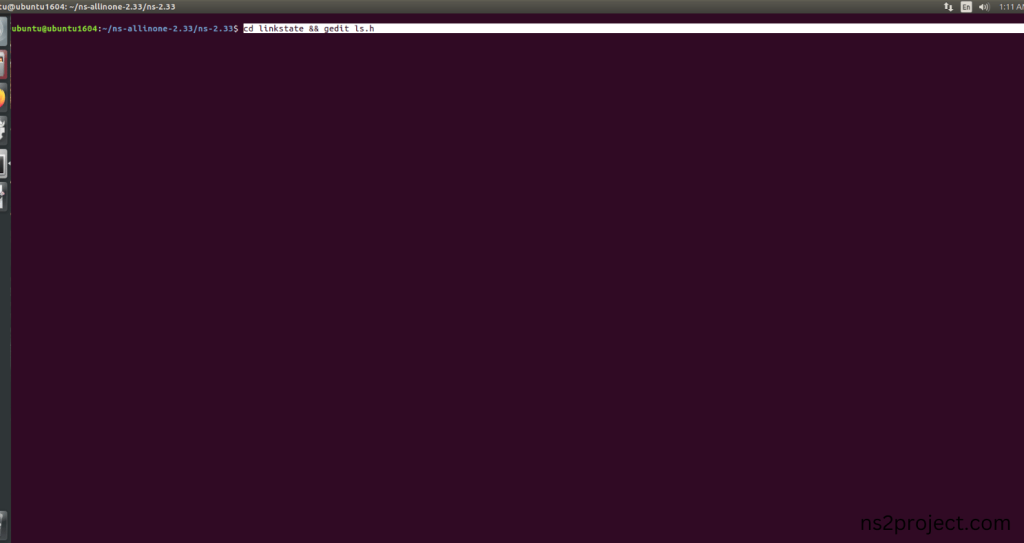
Next, we need to edit the ls.h file in the Ns-2.33 with gedit command.
Command: “cd linkstate && gedit ls.h”
Screenshot:
Screenshot:
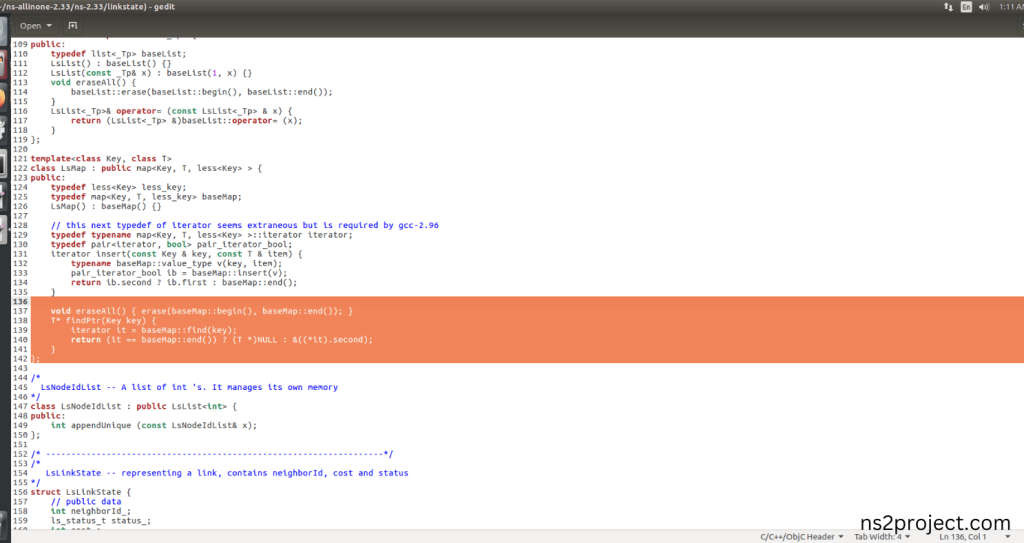
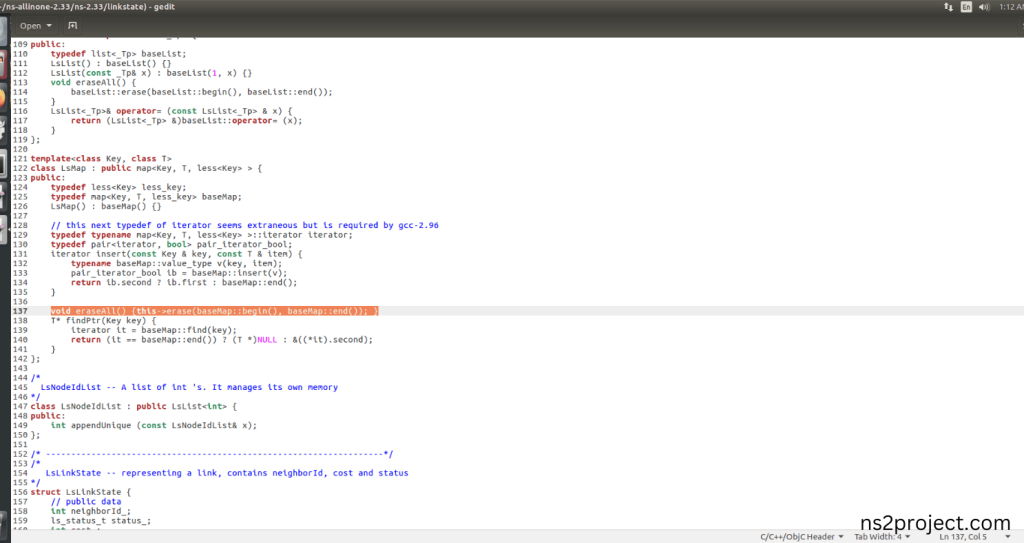
Next, the code this-> is added to the line 137 and before the erase (basemap::begin(), baseMap::end()) code.
Screenshot:
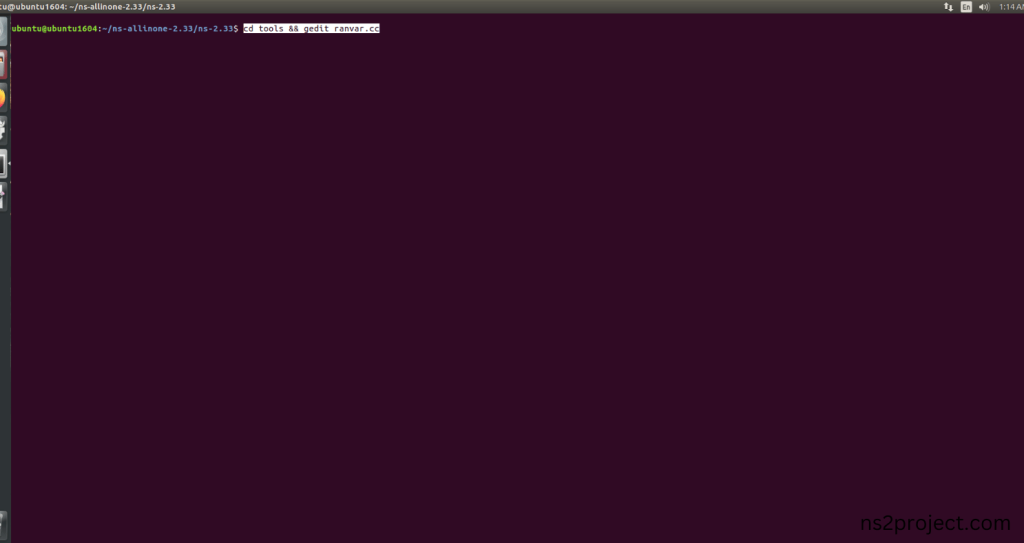
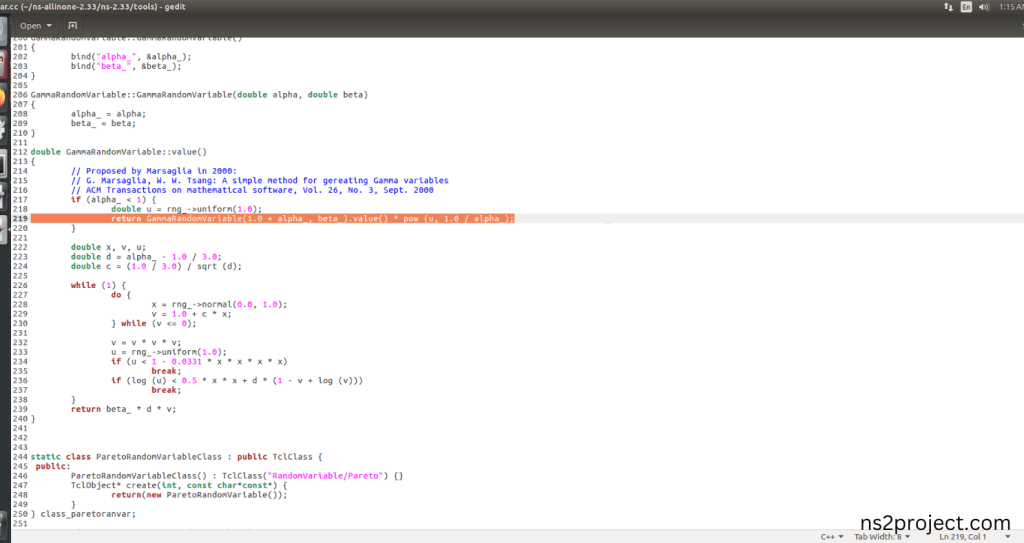
Next, we need to edit the ranvar.cc file in the Ns-2.33 with gedit command.
Command: “cd tools && gedit ranvar.cc”
Screenshot:
Screenshot:
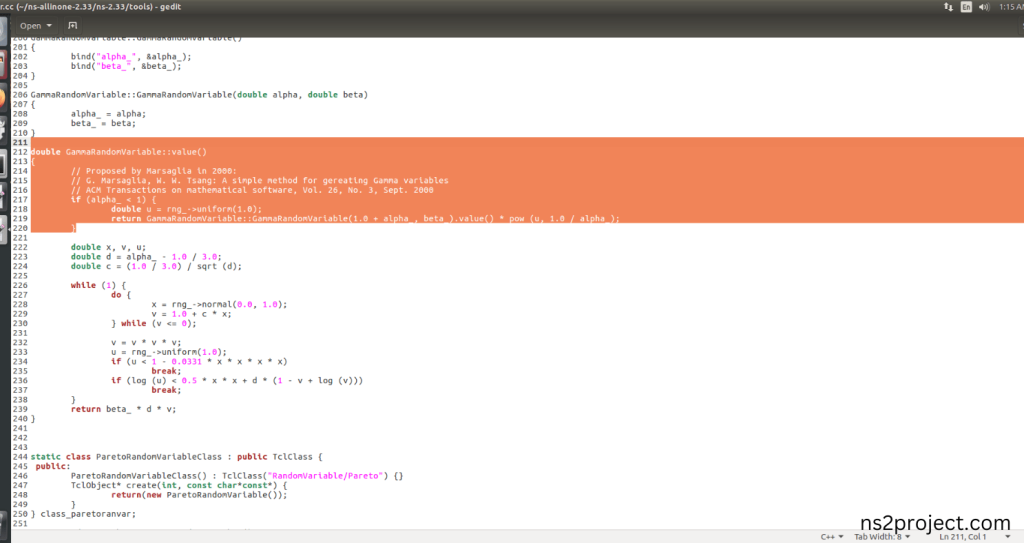
Next, In the code line 219 by removing this line “return GammaRandomVariable::GammaRandomVariable(1.0 + alpha_, beta_).value() * pow (u, 1.0 / alpha_);” and add this line “return GammaRandomVariable(1.0 + alpha_, beta_).value() * pow (u, 1.0 / alpha_);”
Screenshot:
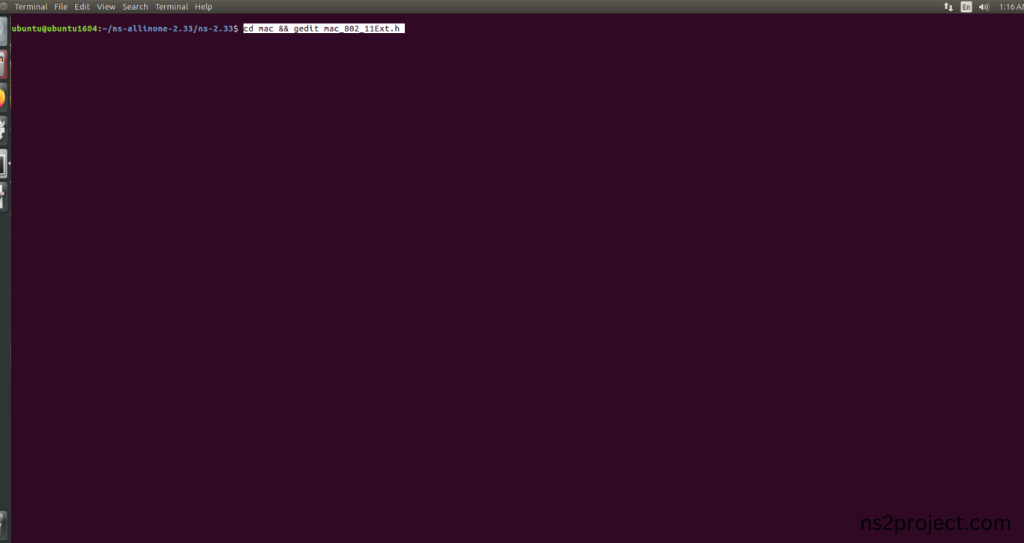
Next, we need to edit the mac-802_11Ext.h file in the Ns-2.33 with gedit command.
Command: “cd mac && gedit mac-802_11Ext.h”
Screenshot:
Screenshot:
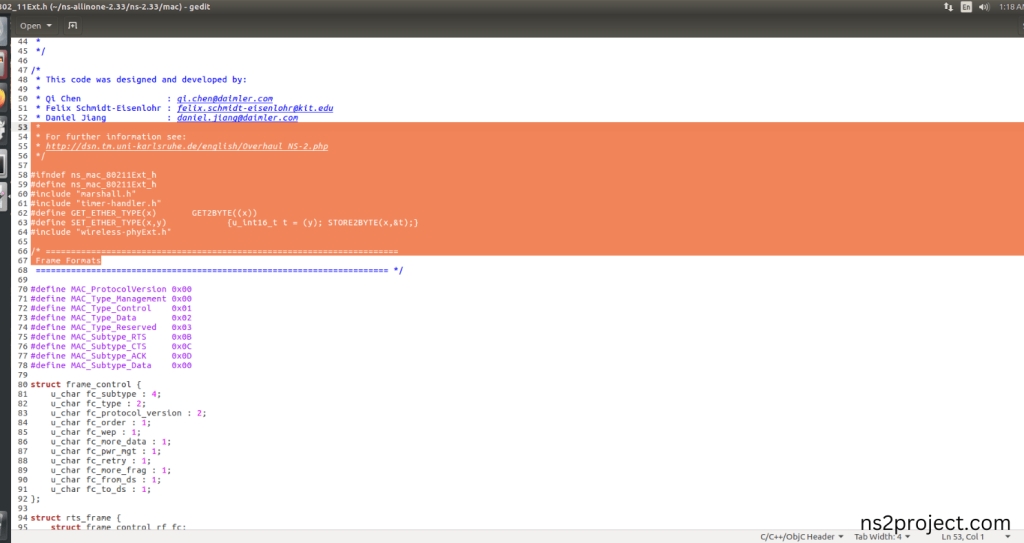
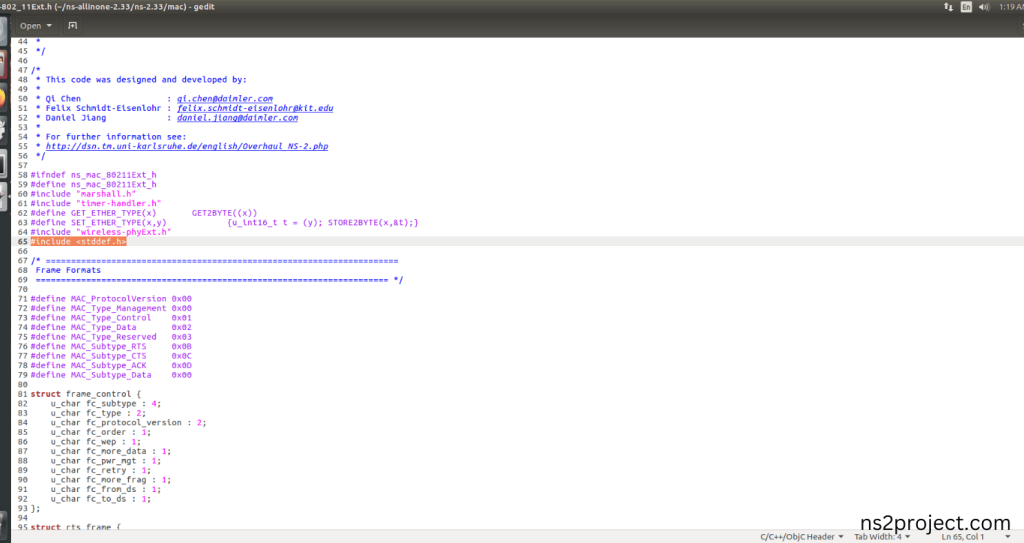
Next, add “#include <stddef.h>” in line 66.
Screenshot:
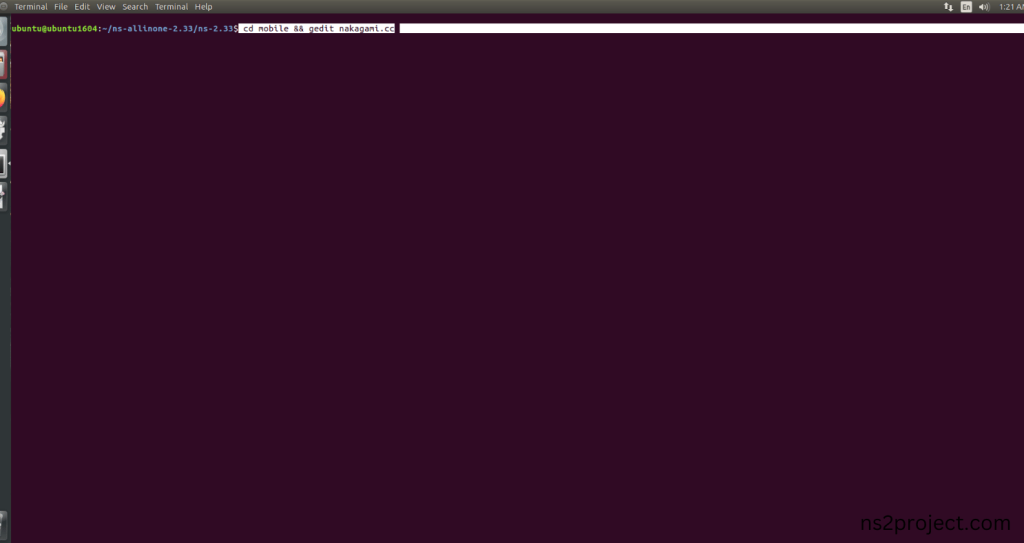
Next, we need to edit the nakagami.cc file in the Ns-2.33 with gedit command.
Command: “cd mobile && gedit nakagami.cc”
Screenshot:
Screenshot:
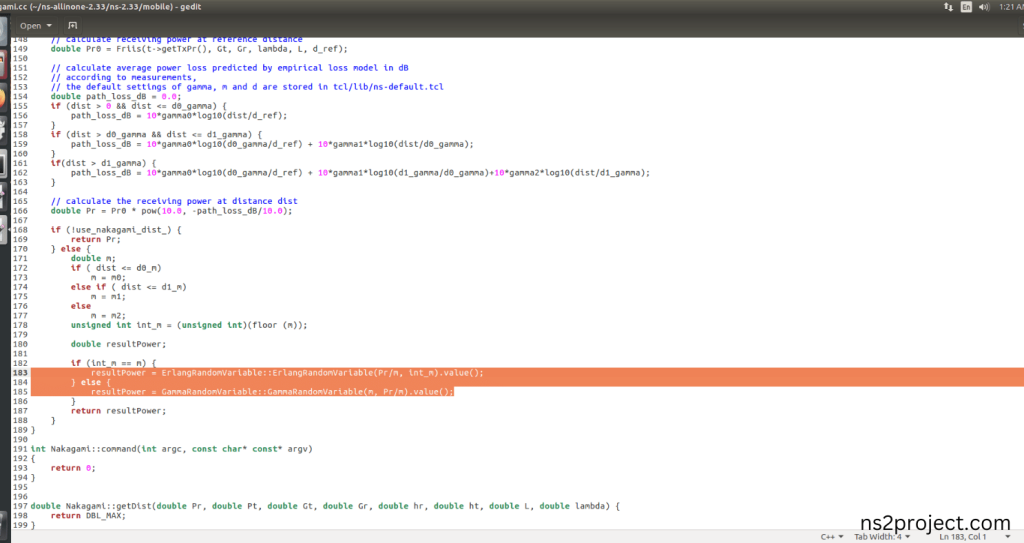
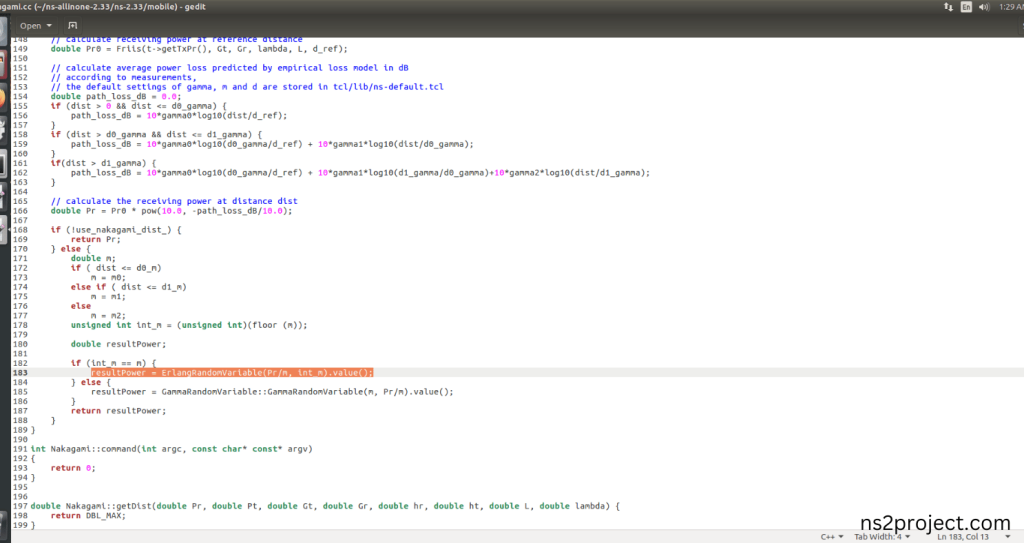
Next, In the code line 183 by removing this line “resultPower = ErlangRandomVariable::ErlangRandomVariable(Pr/m, int_m).value();” and add this line “resultPower = ErlangRandomVariable(Pr/m, int_m).value();”
Screenshot:
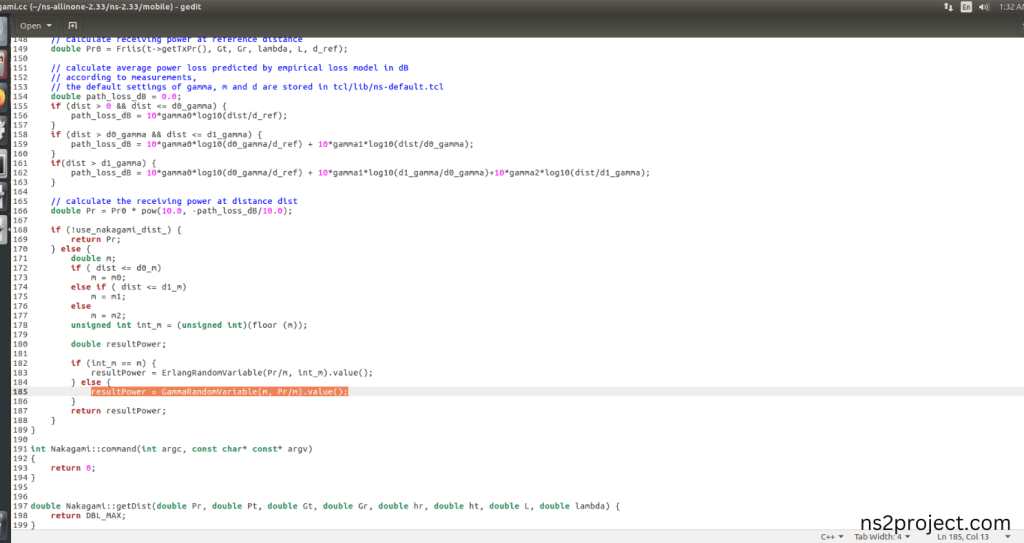
Next, In the code line 185 by removing this line “resultPower = GammaRandomVariable::GammaRandomVariable(m, Pr/m).value();” and add this line “resultPower = GammaRandomVariable(m, Pr/m).value();”
Screenshot:
4.Installing Ns-2.33 by the terminal:
Next, we need to install the network simulation 2.33 Environment in the User system and it. So, use the command to install the ns-2.33 in the ns-allinone-2.33 folder location.
Command: “./install”
Screenshot:
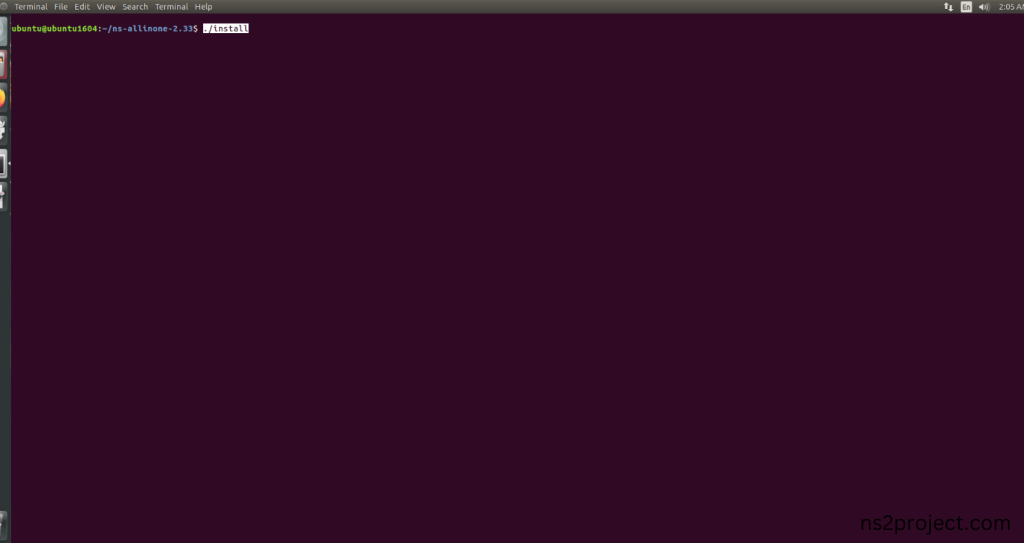
Ns-2.33 Configuration process:
Screenshot:
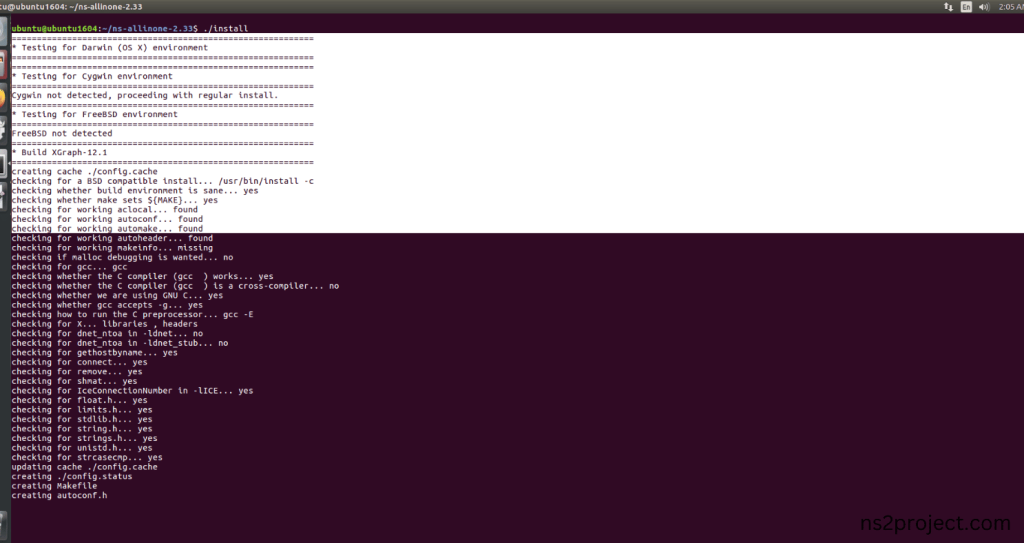
The configuration of the Network Simulator 2 (NS-2) environment. This command is typically used to set various parameters, such as the simulation duration, network topology, and node properties. It can also be used to specify the output format and other simulation settings.
Screenshot:
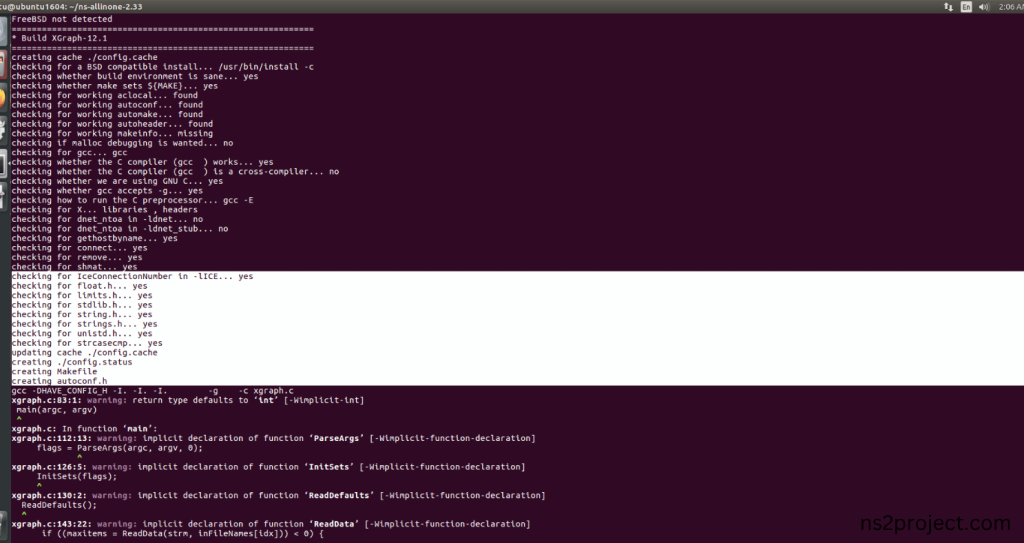
Ns-2.33 Configuration Completed successfully.
Ns-2.33 Building process:
Screenshot:
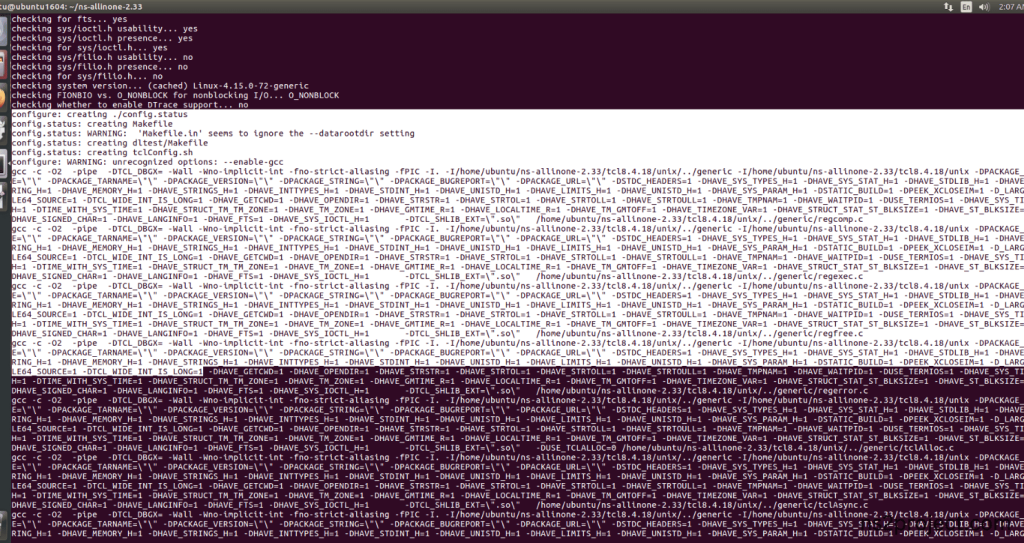
Next, Building the Network Simulator 2 (NS-2) framework from its source code. When use this command, It will compiles the source code, generates the Makefiles, and builds the NS-2 binary and libraries and make Runnable Environment.
Screenshot:
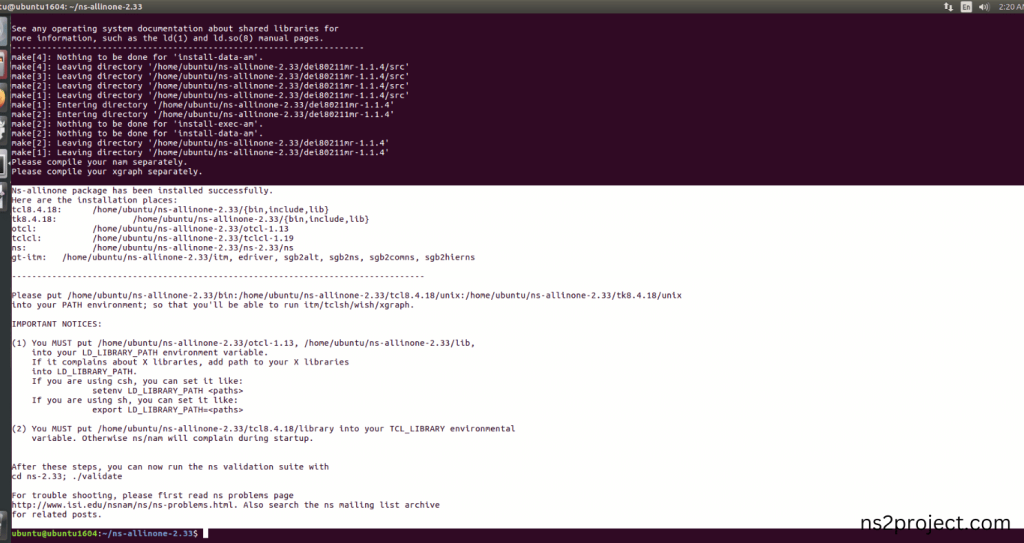
Ns-2.33 Installed successfully in the Ubuntu 16.04 system.


