How to Install OTCL.H Packages in Ns2
To import Otcl.h packages in NS2 tool stay in touch with ns2projects.com where we give you best research ideas and topics based on your requirements.
The Otcl.h Header serves as an essential element for the integration of Object Tcl (OTcl) with the sophisticated C++ simulation engine. OTcl, the scripting language employed in NS-2, is pivotal for defining and orchestrating simulations, while C++ underpins the foundational functionalities. Within the otcl.h file lies a wealth of declarations that facilitate the connection between these two languages, ensuring the fluid execution of simulations where TCL scripts, crafted in OTcl, engage with C++ objects. This file encompasses class declarations tailored for managing OTcl objects and commands, alongside methods designed to bind C++ objects to OTcl commands, thus allowing for their manipulation and invocation within TCL scripts. Additionally, it features functions that enable the exchange of data between OTcl and C++ environments, fostering a dynamic two-way communication. This synergy empowers NS-2 users to command and enhance the simulator through TCL scripts while harnessing the robust performance and capabilities offered by C++. In this elegant framework, intricate simulations are constructed in TCL, while pivotal network behaviors are executed within the C++ backend.
PRE-REQUISITES:
- Fresh installation of Ubuntu 16.04 LTS:
Screenshot:

2.NS-ALLINONE-2.35 Installation:
Screenshot:

3.NS-2.35 Installation:
Screenshot:

Here, Percentage (%) symbol Denotes the successful installation of the NS 2.35 Simulator.
Screenshot:

HEADER FILE VERIFICATION:
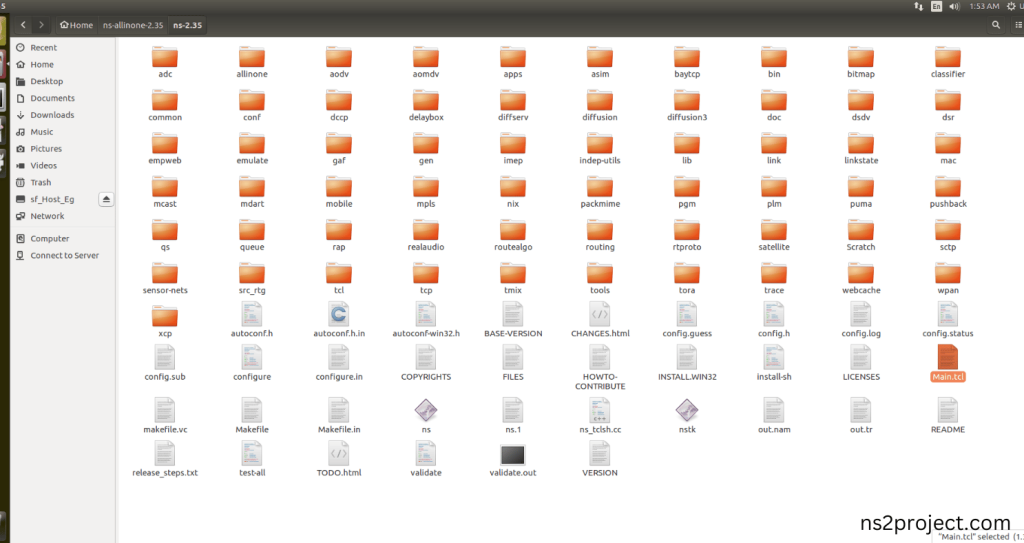
- Locate to the ns-2.35 folder:
Screenshot:

2.Create the Main.tcl file in the scratch folder:
Next we need to create the Main.tcl file by using text editor in the ns-2.35 folder.
Screenshot:

Next we need to paste the below code to the Main.tcl file and save the file in the ns-2.35 folder.
Code:
set ns [new Simulator]
set tracefile [open out.tr w]
set namfile [open out.nam w]
$ns trace-all $tracefile
$ns namtrace-all $namfile
proc finish {} {
global ns tracefile namfile
$ns flush-trace
close $tracefile
close $namfile
exec nam out.nam &
exit 0}
set n0 [$ns node]
set n1 [$ns node]
set n2 [$ns node]
set n3 [$ns node]
$ns color 0 blue
$ns duplex-link $n0 $n1 1Mb 10ms DropTail
$ns duplex-link $n1 $n2 1Mb 10ms DropTail
$ns duplex-link $n2 $n3 1Mb 10ms DropTail
set tcp [new Agent/TCP]
$ns attach-agent $n0 $tcp
set sink [new Agent/TCPSink]
$ns attach-agent $n3 $sink
$ns connect $tcp $sink
set ftp [new Application/FTP]
$ftp attach-agent $tcp
$ns at 0.5 “$ftp start”
$ns at 4.5 “$ftp stop”
$ns at 5.0 “finish”
$ns run
Screenshot:

3.Open the Terminal:
Next, we need to launch the terminal by right clicking the mouse in the ns-2.35 location.
Screenshot:

Screenshot:

4.NS-2.35 Configuration && Building Process:
Next, we need to configure and build the ns-2.35 folder to make the Created files need to work in ns-2.35 configuration.
Command: “./make”
Screenshot:

Screenshot:

Screenshot:

5.Importing Otcl.h:
Here we imported the Otcl.h header file code indirectly accessed the Otcl header (set n0 [$ns node]) is responsible for creating OTcl objects that represent the nodes defined in the Tcl script, allowing them to be manipulated within this example program. Here we highlighted the code line that highlighted which is internally accessed Otcl.h that we will show class file that used in this code via Otcl folder.
Screenshot:

Screenshot:

Here we will show the header file by opening Otcl.h file to show the class or function imported from the Otcl.h in the example code. The Highlighted Lines in the header code refers to the tcl script code (set n0 [$ns node]) is responsible for creating OTcl objects that represent the nodes defined in the Tcl script, allowing them to be manipulated within the simulation.
Screenshot:

Screenshot:

6.Executing the Example Program for Packet Header:
Then we need to run the Example program for Packet Header to view output of the program.
Command: “./ns Main.tcl”
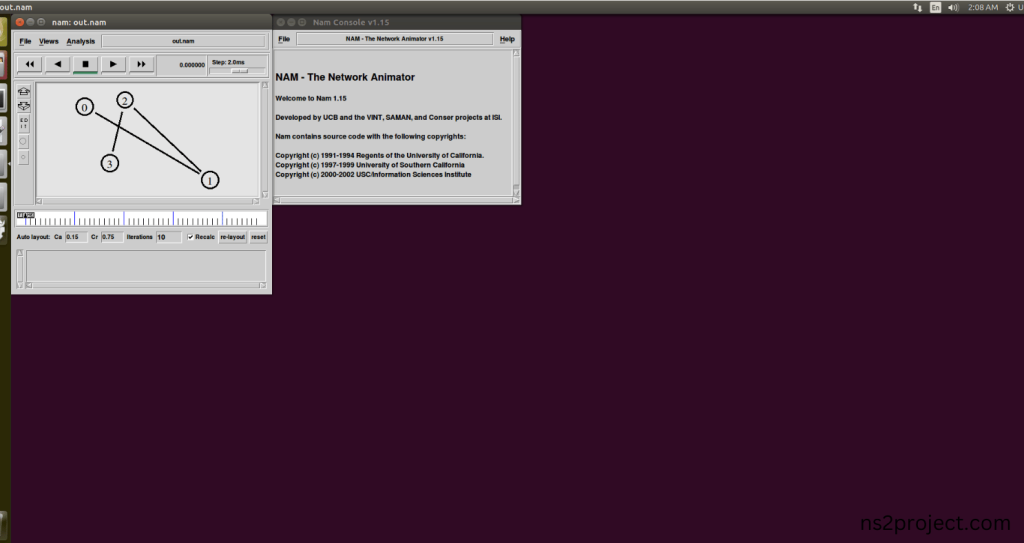
Screenshot:

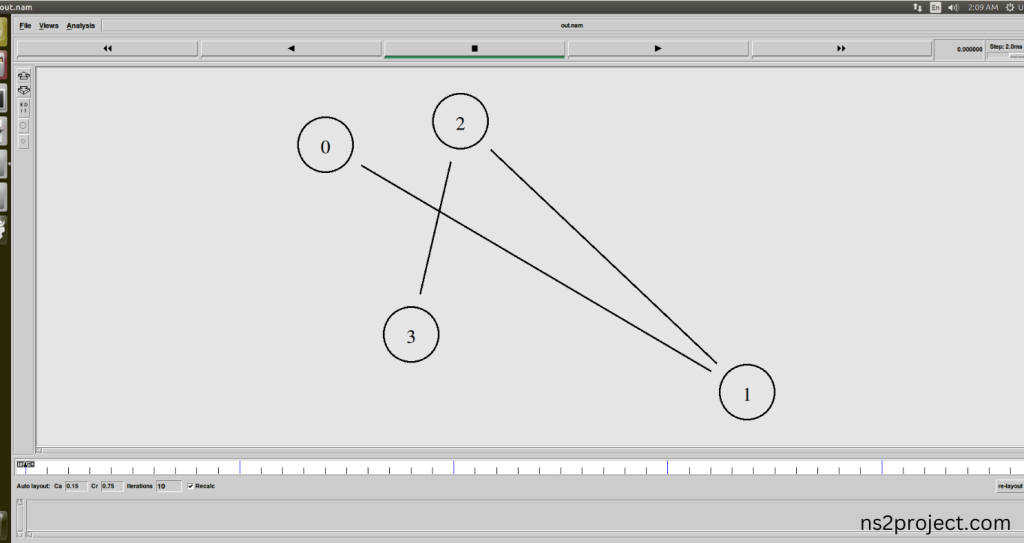
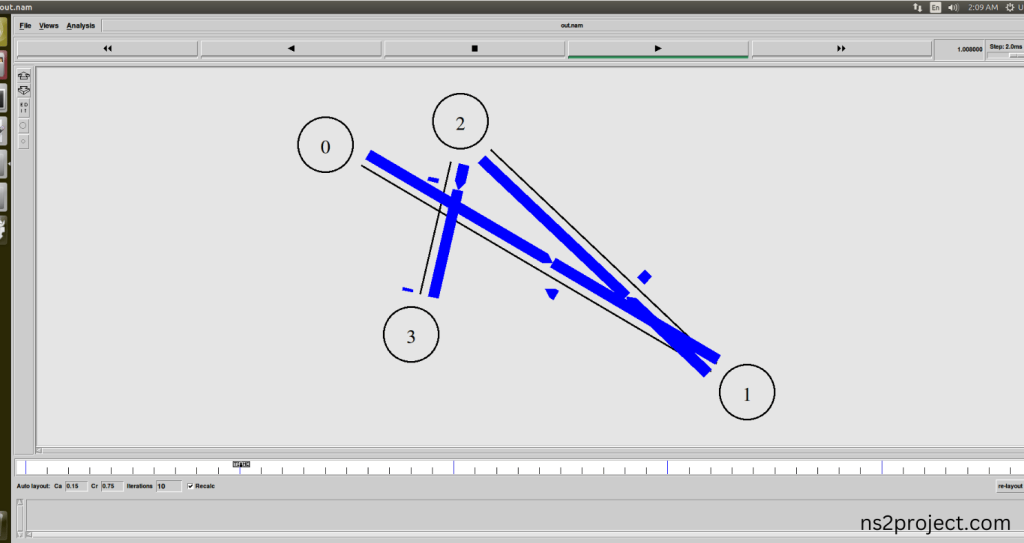
Here we shown the output of the example program by using Otcl.h.
Screenshot:

Screenshot:

Screenshot:

In the NS 2.35 Simulation Example Program, the Otcl.h Header file is successfully imported. Drop us a message to guide you more. ns2projects.com squad is here to help you get the perfect OTCL.H PACKAGES that fit your needs. Our development team is dedicated to helping you achieve the best outcomes. We’ve got all the right tools and resources to support you when you need it most.
Reach out for personalized research services. If you need more info about OTCL.H PACKAGES, feel free to get in touch!


