How to Install TCP VEGAS.CC Packages in Ns2
To import in the TCP-VEGAS.CC packages into the Ns2 tool, just follow the steps listed below. We’ll offer you unique solutions and exciting research ideas that will take you tom next level.Struggling how to apply it in your reseach let our experts help you with best project ideas. Tcp-vegas is an alternative to the conventional TCP congestion control algorithms that emphasizes proactive congestion avoidance in an effort to increase throughput and decrease packet loss. The declarations for the TCP Vegas class, which implements features like rate-based control and round-trip time (RTT) monitoring, are contained in the tcp-vegas.h file. TCP Vegas improves network performance by detecting and avoiding congestion before packet loss happens, in contrast to TCP Reno, which responds to packet loss. It does this by adjusting the congestion window size based on changes in RTT. TCP Vegas is used in NS-2 to model network situations where improved throughput and early congestion detection are essential. With this command, a TCP agent that manages congestion using the Vegas algorithm is created. Direct interaction between the user and tcp-vegas.h is not required.
PRE-REQUISITES:
- Fresh installation of Ubuntu 16.04 LTS:
Screenshot:
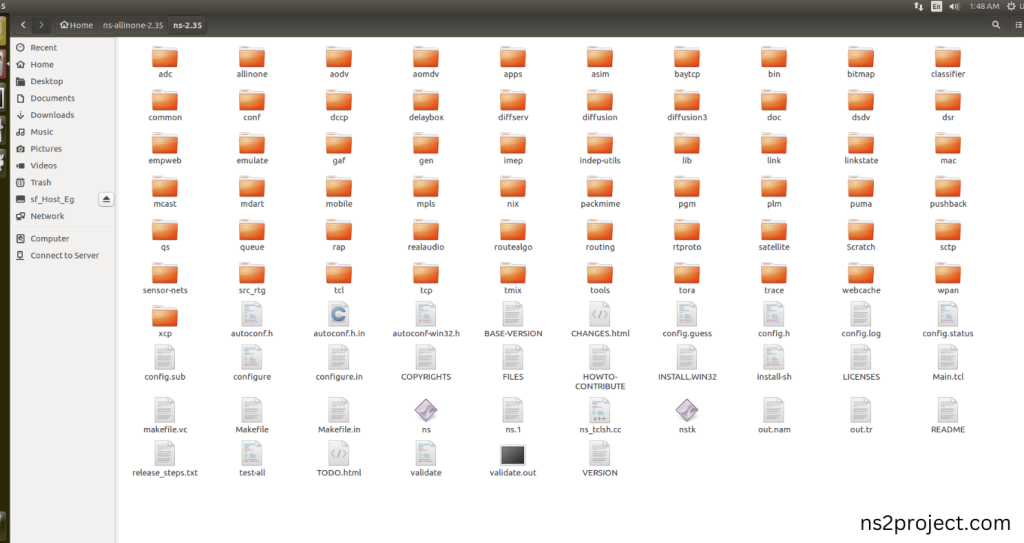
2.NS-2.35 Installation:
Screenshot:
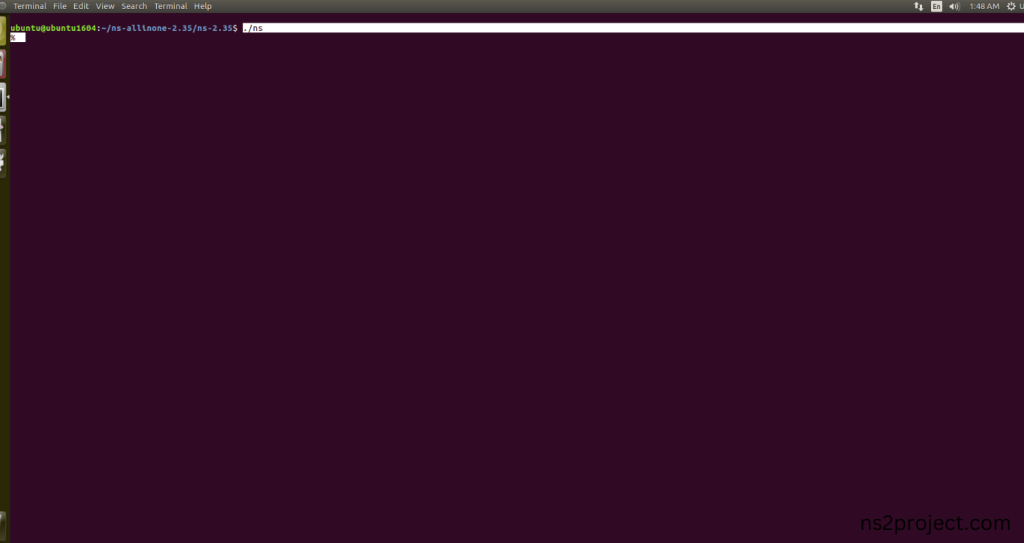
Here, Percentage (%) symbol Denotes the successful installation of the NS 2.35 Simulator.
Screenshot:
HEADER FILE VERIFICATION:
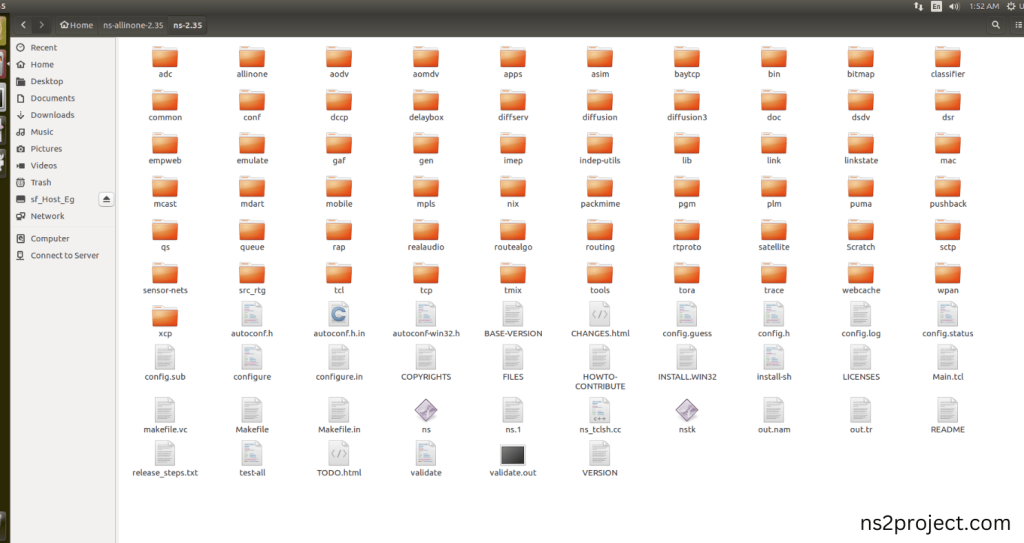
- Locate to the ns-2.35 folder:
Screenshot:
2.Create the Main.tcl file in the scratch folder:
Next we need to create the Main.tcl file by using text editor in the ns-2.35 folder.
Screenshot
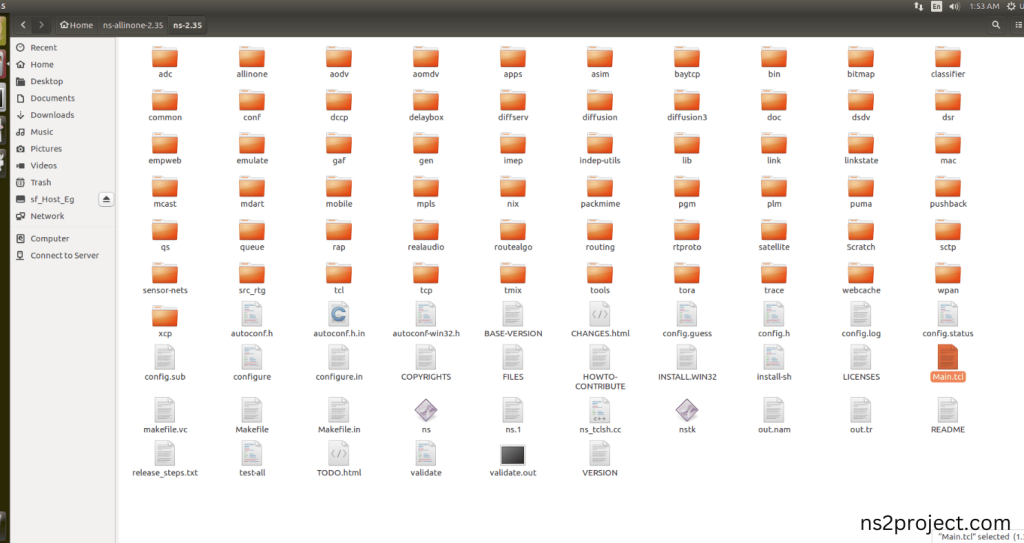
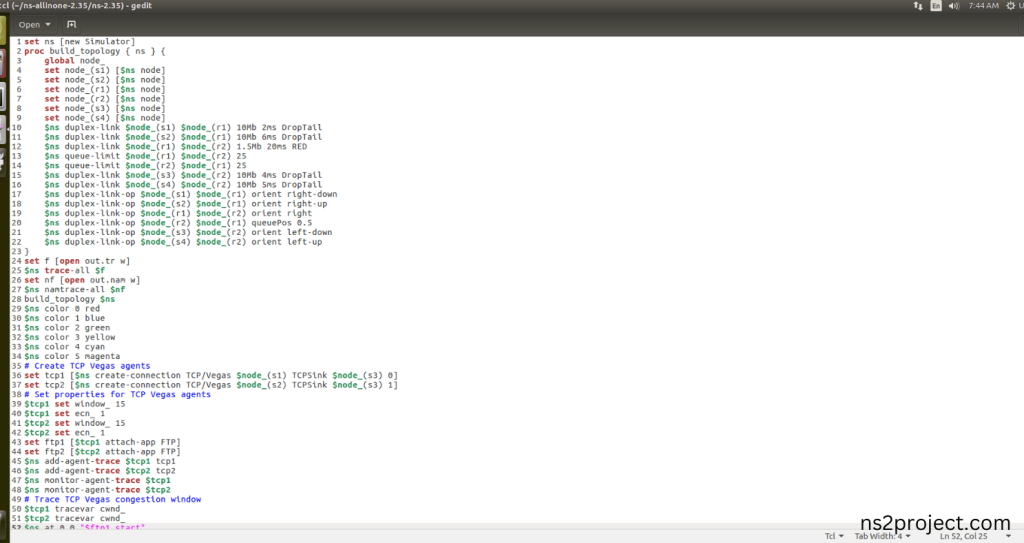
Next we need to paste the below code to the Main.tcl file and save the file in the ns-2.35 folder.
Code:
set ns [new Simulator]
proc build_topology { ns } {
global node_
set node_(s1) [$ns node]
set node_(s2) [$ns node]
set node_(r1) [$ns node]
set node_(r2) [$ns node]
set node_(s3) [$ns node]
set node_(s4) [$ns node]
$ns duplex-link $node_(s1) $node_(r1) 10Mb 2ms DropTail
$ns duplex-link $node_(s2) $node_(r1) 10Mb 6ms DropTail
$ns duplex-link $node_(r1) $node_(r2) 1.5Mb 20ms RED
$ns queue-limit $node_(r1) $node_(r2) 25
$ns queue-limit $node_(r2) $node_(r1) 25
$ns duplex-link $node_(s3) $node_(r2) 10Mb 4ms DropTail
$ns duplex-link $node_(s4) $node_(r2) 10Mb 5ms DropTail
$ns duplex-link-op $node_(s1) $node_(r1) orient right-down
$ns duplex-link-op $node_(s2) $node_(r1) orient right-up
$ns duplex-link-op $node_(r1) $node_(r2) orient right
$ns duplex-link-op $node_(r2) $node_(r1) queuePos 0.5
$ns duplex-link-op $node_(s3) $node_(r2) orient left-down
$ns duplex-link-op $node_(s4) $node_(r2) orient left-up
}
set f [open out.tr w]
$ns trace-all $f
set nf [open out.nam w]
$ns namtrace-all $nf
build_topology $ns
$ns color 0 red
$ns color 1 blue
$ns color 2 green
$ns color 3 yellow
$ns color 4 cyan
$ns color 5 magenta
# Create TCP Vegas agents
set tcp1 [$ns create-connection TCP/Vegas $node_(s1) TCPSink $node_(s3) 0]
set tcp2 [$ns create-connection TCP/Vegas $node_(s2) TCPSink $node_(s3) 1]
# Set properties for TCP Vegas agents
$tcp1 set window_ 15
$tcp1 set ecn_ 1
$tcp2 set window_ 15
$tcp2 set ecn_ 1
set ftp1 [$tcp1 attach-app FTP]
set ftp2 [$tcp2 attach-app FTP]
$ns add-agent-trace $tcp1 tcp1
$ns add-agent-trace $tcp2 tcp2
$ns monitor-agent-trace $tcp1
$ns monitor-agent-trace $tcp2
# Trace TCP Vegas congestion window
$tcp1 tracevar cwnd_
$tcp2 tracevar cwnd_
$ns at 0.0 “$ftp1 start”
$ns at 0.0 “$ftp2 start”
$ns at 10.0 “finish”
proc finish {} {
global ns f nf
$ns flush-trace
close $f
close $nf
exec nam out.nam &
exit 0
}
$ns run
Screenshot:
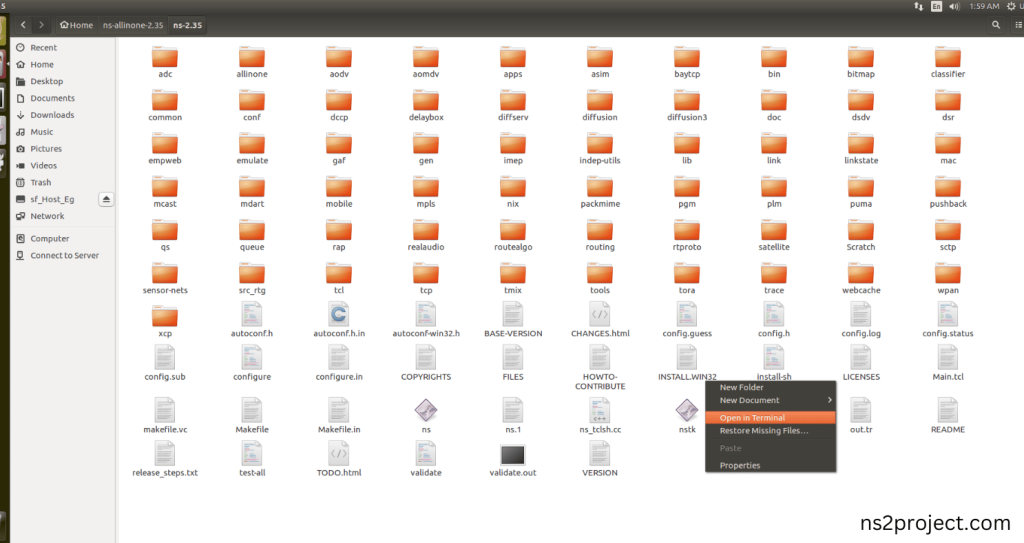
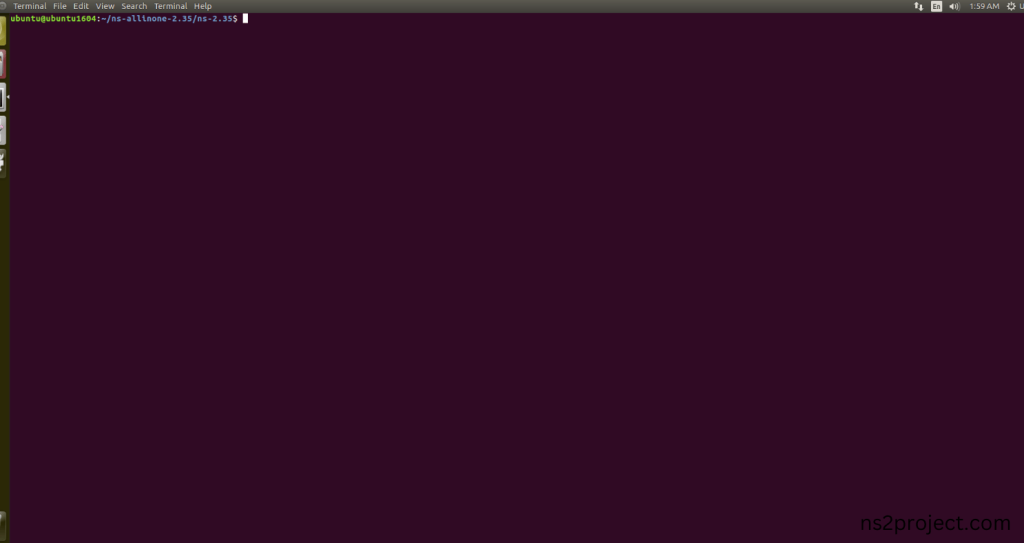
3.Open the Terminal:
Next, we need to launch the terminal by right clicking the mouse in the ns-2.35 location.
Screenshot:
Screenshot:
4.NS-2.35 Configuration && Building Process:
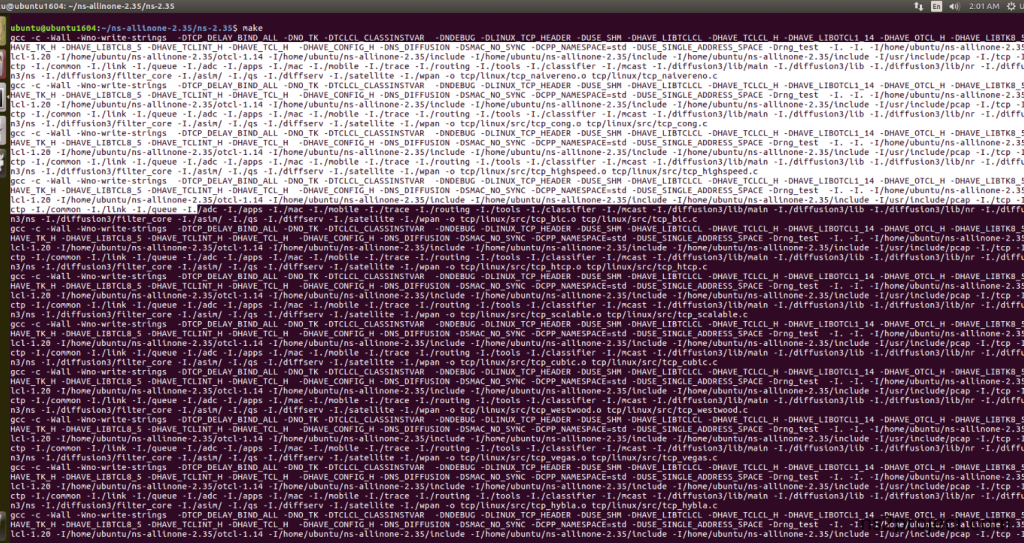
Next, we need to configure and build the ns-2.35 folder to make the Created files need to work in ns-2.35 configuration.
Command: “./make”
Screenshot:
Screenshot:
Screenshot:
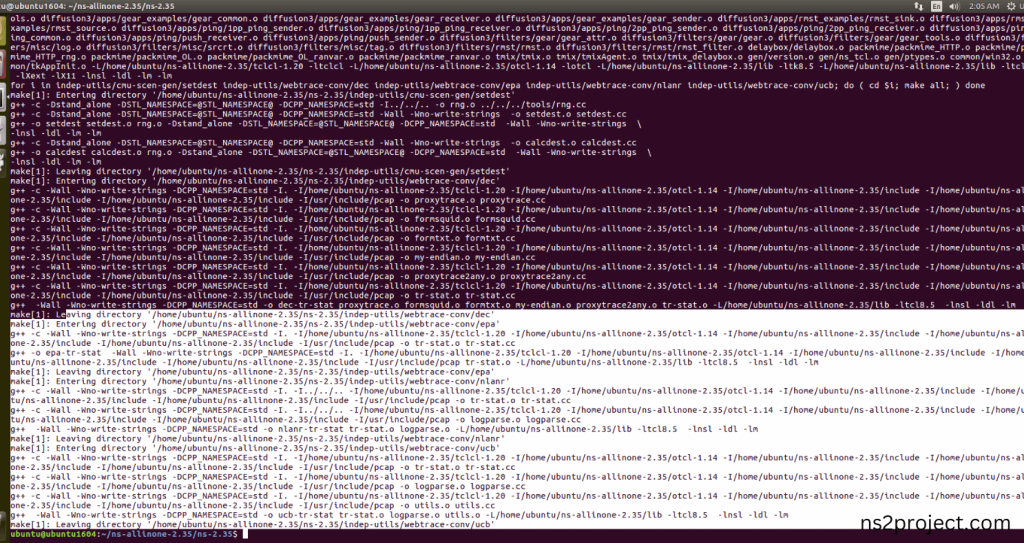
Here, NS-2.35 Building process completed successfully.
5.Importing Tcp-vegas.cc:
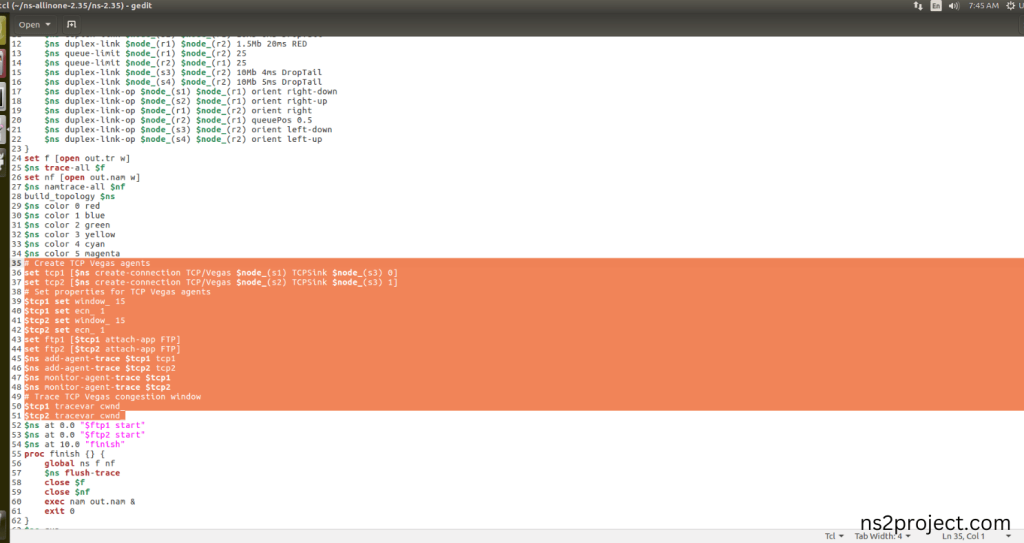
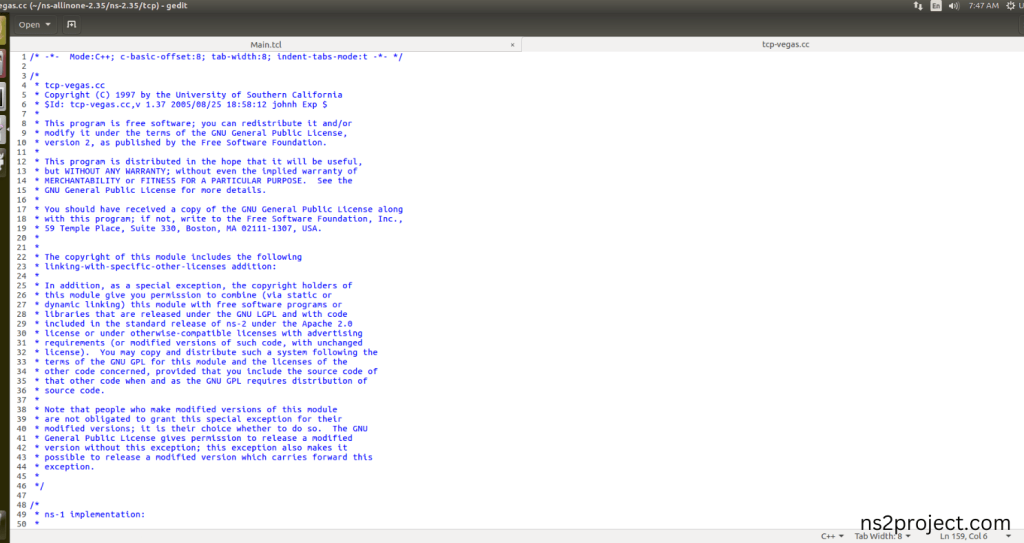
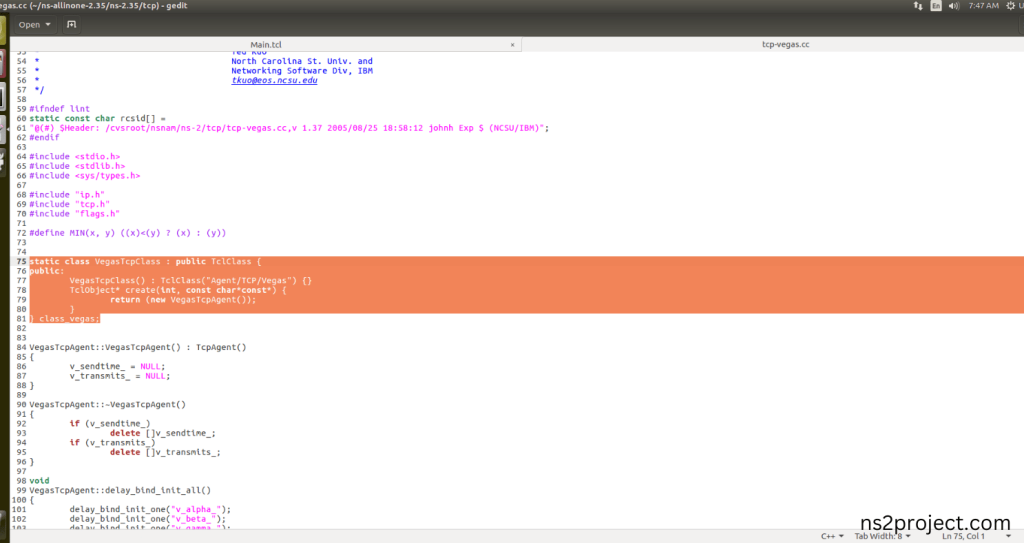
Here we imported the Tcp-vegas.cc header file code indirectly accessed the Tcp-vegas class used in the Tcl script (set tcp1 [$ns create-connection TCP/Vegas $node_(s1) TCPSink $node_(s3) 0]) It creates TCP Vegas agents (TCP/Vegas) implements TCP Vegas congestion control in this example program. Here we highlighted the code line that highlighted which is internally accessed Tcp-vegas.cc, we will show class file that used in this code via TCP folder.
Screenshot:
Screenshot:
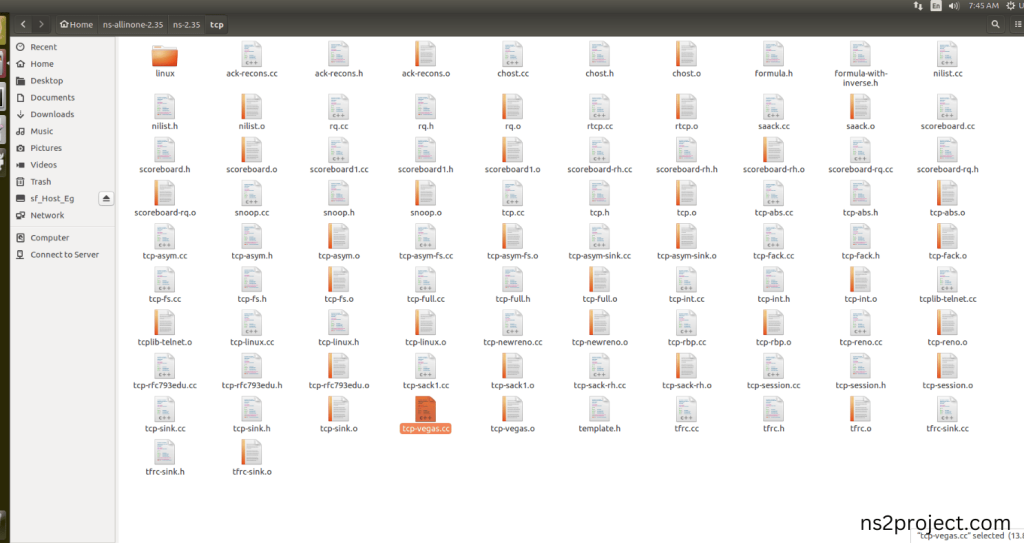
Here we will show the header file by opening Tcp-vegas.cc file to show the class or function imported from the Tcp-vegas.cc in the example code. Tcp-vegas.cc is used (set tcp1 [$ns create-connection TCP/Vegas $node_(s1) TCPSink $node_(s3) 0]) It creates TCP Vegas agents (TCP/Vegas), where tcp1 is connected between nodes s1 and s3, and tcp2 is connected between nodes s2 and s3 corresponds to creating an instance of VegasTcpAgent, which implements TCP Vegas congestion control during the simulation.
Screenshot:
Screenshot:
6.Executing the Example Program for Tcp-vegas Header:
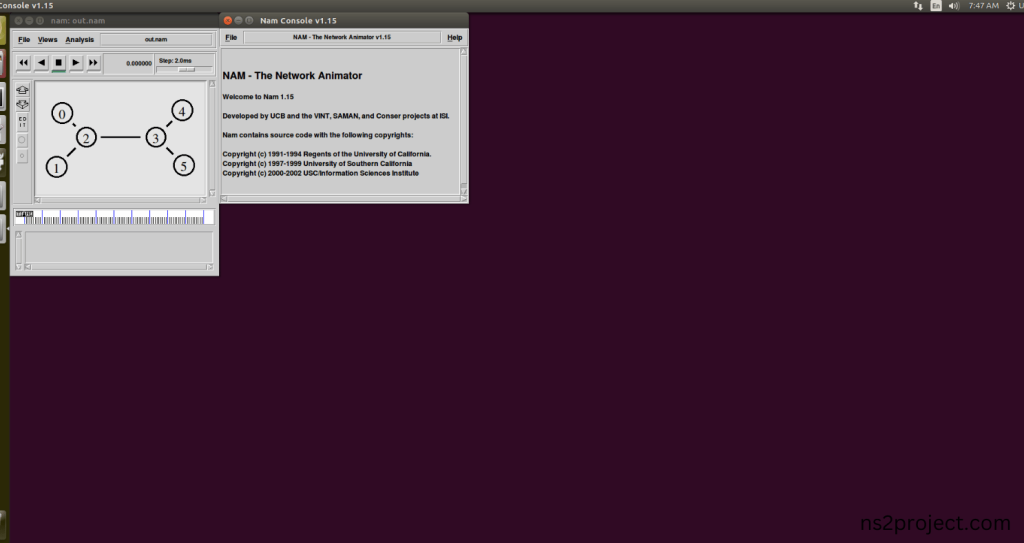
Then we need to run the Example program for Tcp-vegas Header to view output of the program.
Command: “./ns Main.tcl”
Screenshot:
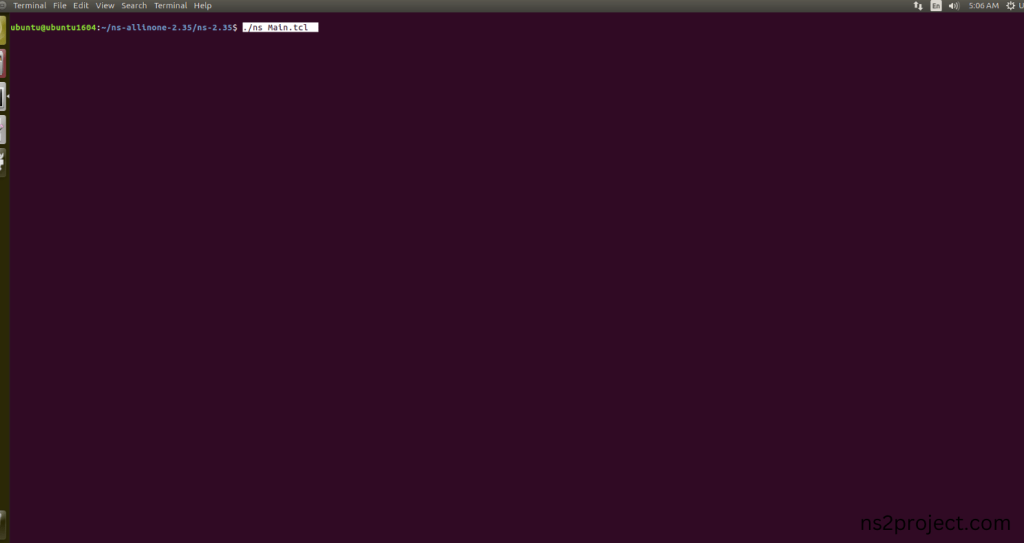
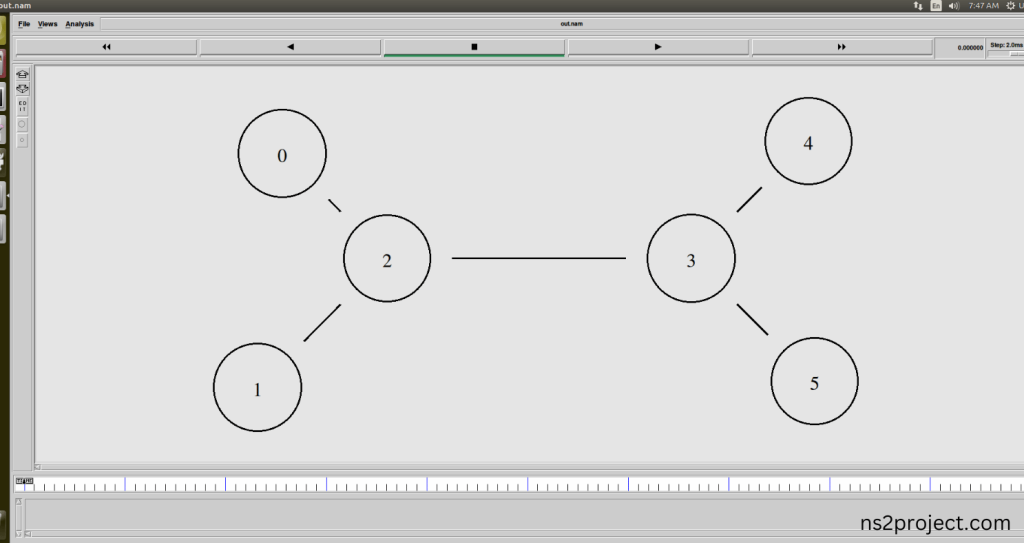
Here we shown the output of the example program by using Tcp-vegas.cc.
Screenshot:
Screenshot:
Screenshot:
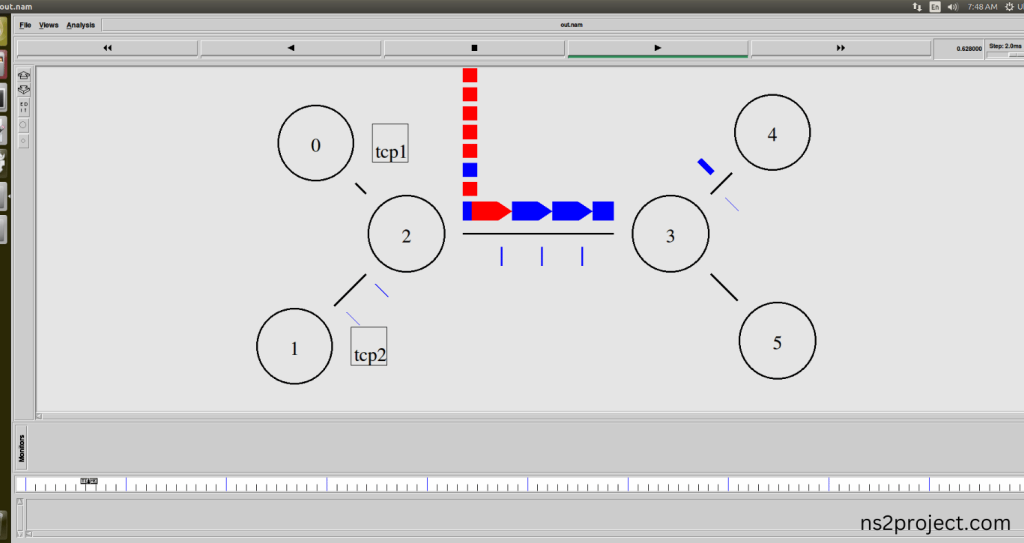
In the NS 2.35 Simulation Example Program, the Tcp-vegas.cc Header file is successfully imported.


