How To Install LL.H Packages in Ns2
To import LL.H packages into the NS2 tool, our experts are ready ensuring you find the best solution for your needs. Stay connected with our research team for outstanding research ideas and topics. Don’t hesitate to contact ns2projects.com, and we promise you will receive exceptional results.
The Link Layer (LL) plays a vital role in mimicking the data link layer within the network model. It facilitates communication between the network layer (IP) and the Medium Access Control (MAC) layer. The ll.h file includes the declarations for the LL class, which is responsible for various functions such as packet encapsulation, error detection, and managing the Address Resolution Protocol (ARP) to map IP addresses to hardware addresses. The LL class is essential for simulating how packets are prepared for transmission at the data link layer, encompassing tasks like framing, queuing, and addressing. It is instrumental in ensuring smooth data transfer between different layers of the network stack. In the TCL script, the features provided by ll.h are accessed in a more indirect manner. Users have the ability to customize the behavior of the link layer by configuring network nodes with specific Link Layer attributes, such as activating ARP or setting error models. This command is used to set up the link layer for a node within the simulation.
PRE-REQUISITES:
- Fresh installation of Ubuntu 16.04 LTS:
Screenshot:
2.NS-2.35 Installation:
Screenshot:
Here, Percentage (%) symbol Denotes the successful installation of the NS 2.35 Simulator.
Screenshot:

HEADER FILE VERIFICATION:
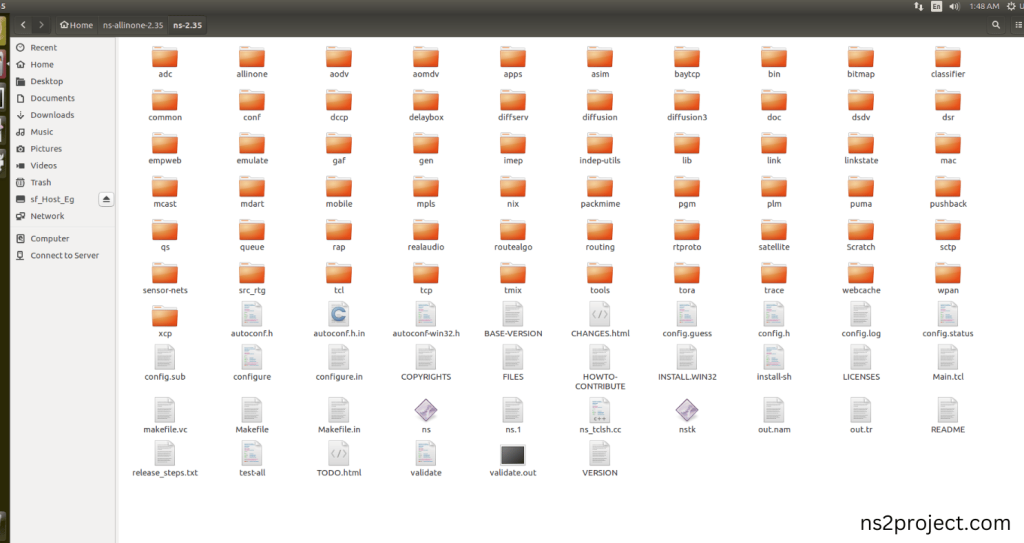
- Locate to the ns-2.35 folder:
Screenshot:

2.Create the Main.tcl file in the scratch folder:
Next we need to create the Main.tcl file by using text editor in the ns-2.35 folder.
Screenshot
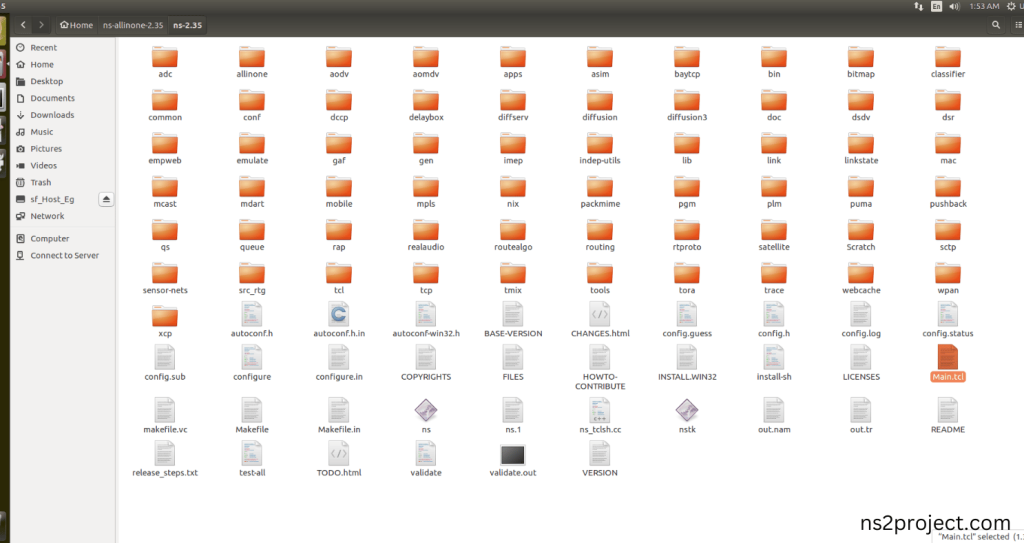
Next we need to paste the below code to the Main.tcl file and save the file in the ns-2.35 folder.
Code:
set ns [new Simulator]
set namfile [open out.nam w]
$ns namtrace-all $namfile
set tracefile [open out.tr w]
$ns trace-all $tracefile
proc finish {} {
global ns tracefile namfile
$ns flush-trace
close $tracefile
close $namfile
exec nam out.nam &
exit 0
}
set n0 [$ns node]
set n1 [$ns node]
$ns color 0 cyan
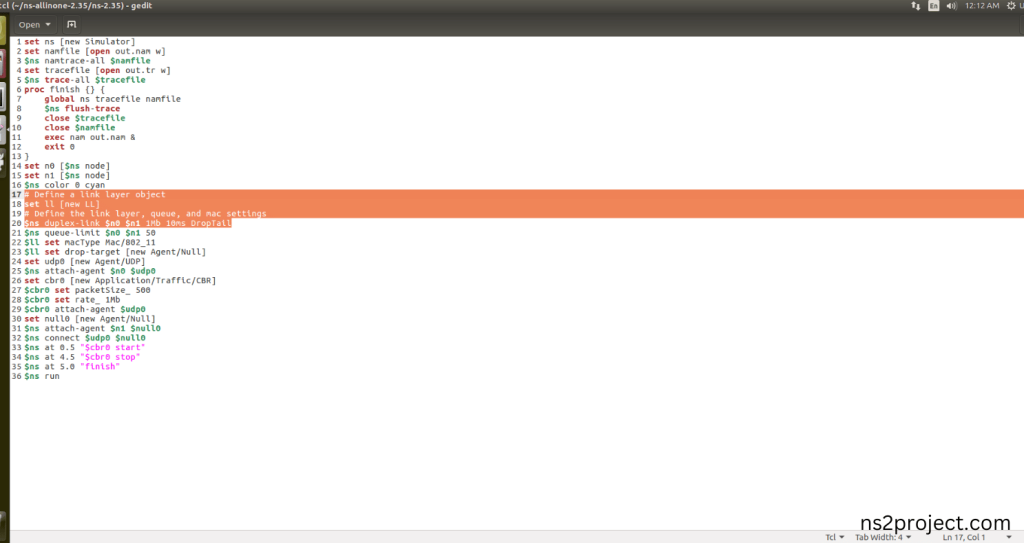
# Define a link layer object
set ll [new LL]
# Define the link layer, queue, and mac settings
$ns duplex-link $n0 $n1 1Mb 10ms DropTail
$ns queue-limit $n0 $n1 50
$ll set macType Mac/802_11
$ll set drop-target [new Agent/Null]
set udp0 [new Agent/UDP]
$ns attach-agent $n0 $udp0
set cbr0 [new Application/Traffic/CBR]
$cbr0 set packetSize_ 500
$cbr0 set rate_ 1Mb
$cbr0 attach-agent $udp0
set null0 [new Agent/Null]
$ns attach-agent $n1 $null0
$ns connect $udp0 $null0
$ns at 0.5 “$cbr0 start”
$ns at 4.5 “$cbr0 stop”
$ns at 5.0 “finish”
$ns run
Screenshot:

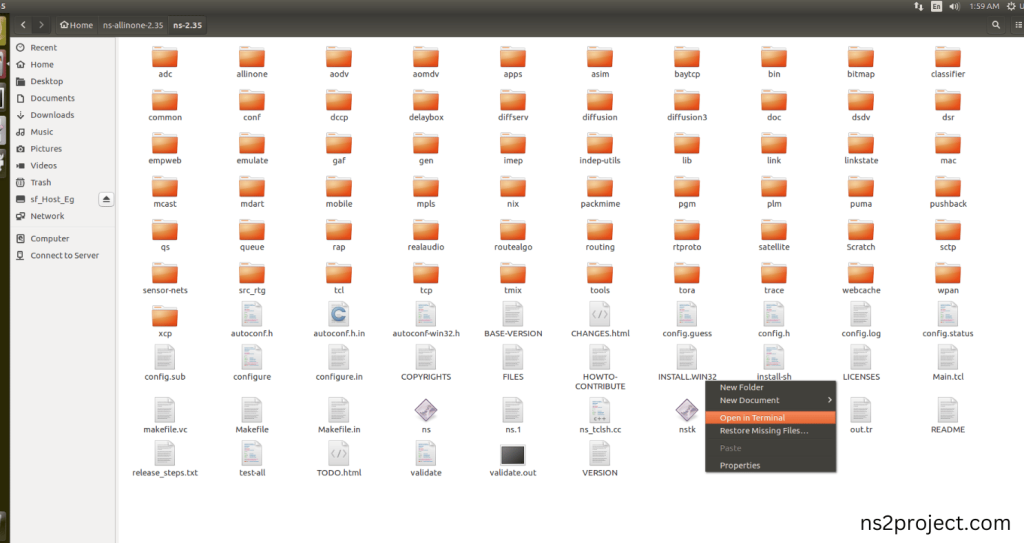
3.Open the Terminal:
Next, we need to launch the terminal by right clicking the mouse in the ns-2.35 location.
Screenshot:
Screenshot:

4.NS-2.35 Configuration && Building Process:
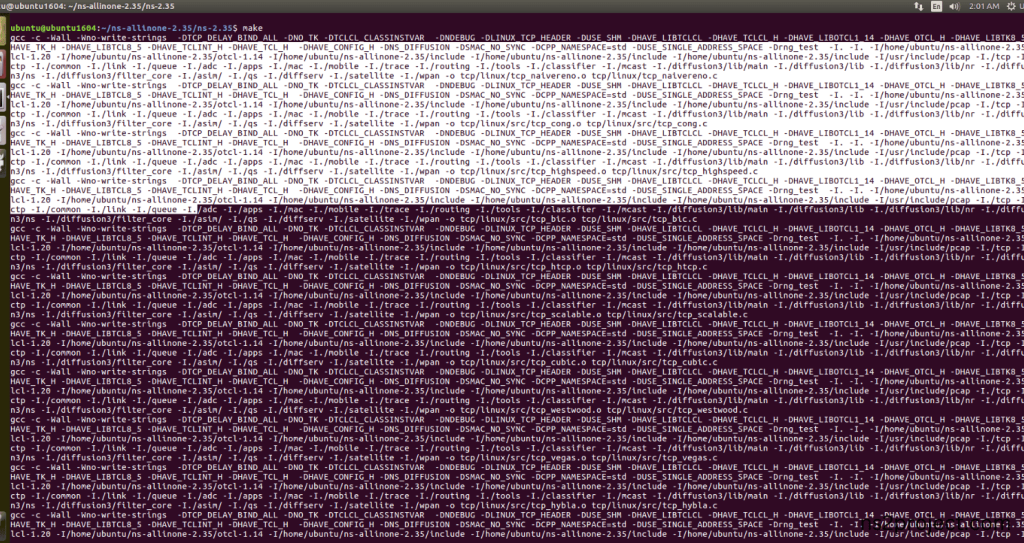
Next, we need to configure and build the ns-2.35 folder to make the Created files need to work in ns-2.35 configuration.
Command: “./make”
Screenshot:

Screenshot:
Screenshot:
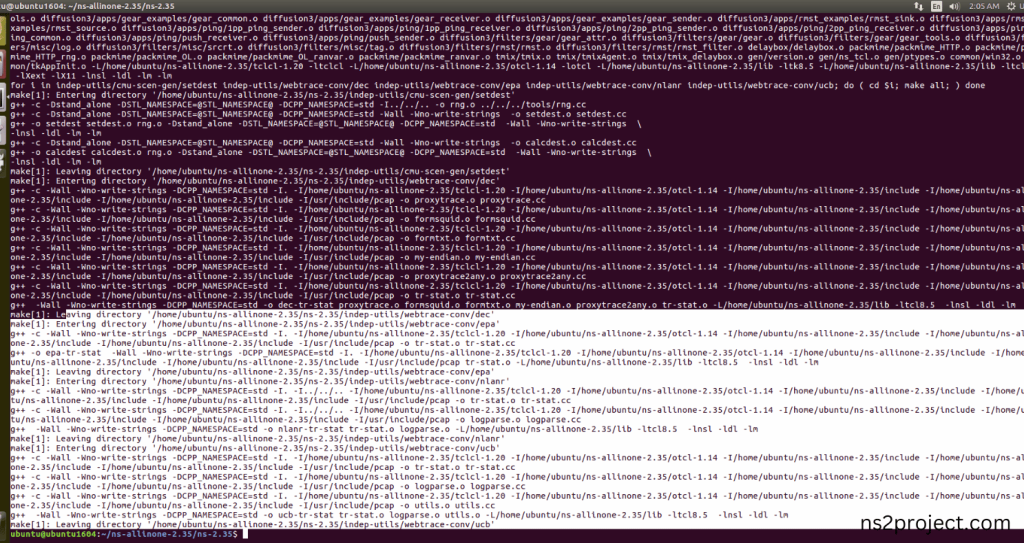
Here, NS-2.35 Building process completed successfully.
3.Importing ll.h:
Here we imported the ll.h header file code indirectly accessed the ll class used in the Tcl script (set ll [new LL] $ns duplex-link $n0 $n1 1Mb 10ms DropTail) It creates Link Layer object to handle the Packet Transmission between nodes in this example program. Here we highlighted the code line that highlighted which is internally accessed ll.h, we will show class file that used in this code via Mac folder.
Screenshot:
Screenshot:
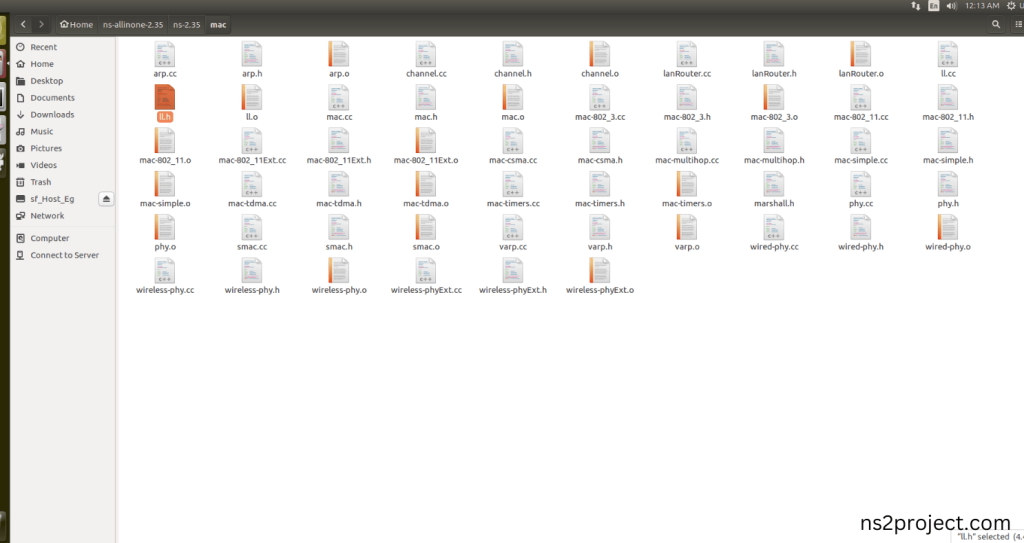
Here we will show the header file by opening ll.h file to show the class or function imported from the ll.h in the example code. ll Class is used (set ll [new LL] $ns duplex-link $n0 $n1 1Mb 10ms DropTail) and manage link-layer communication between nodes, handling packet queues, sending, and receiving packets during the simulation.
Screenshot:

Screenshot:

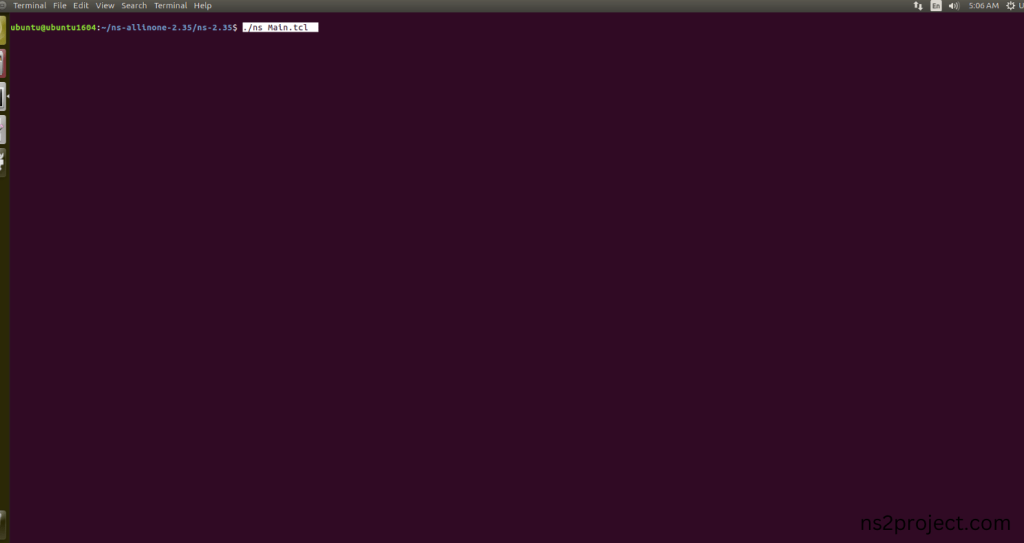
5.Executing the Example Program for ll Header:
Then we need to run the Example program for ll Header to view output of the program.
Command: “./ns Main.tcl”
Screenshot:
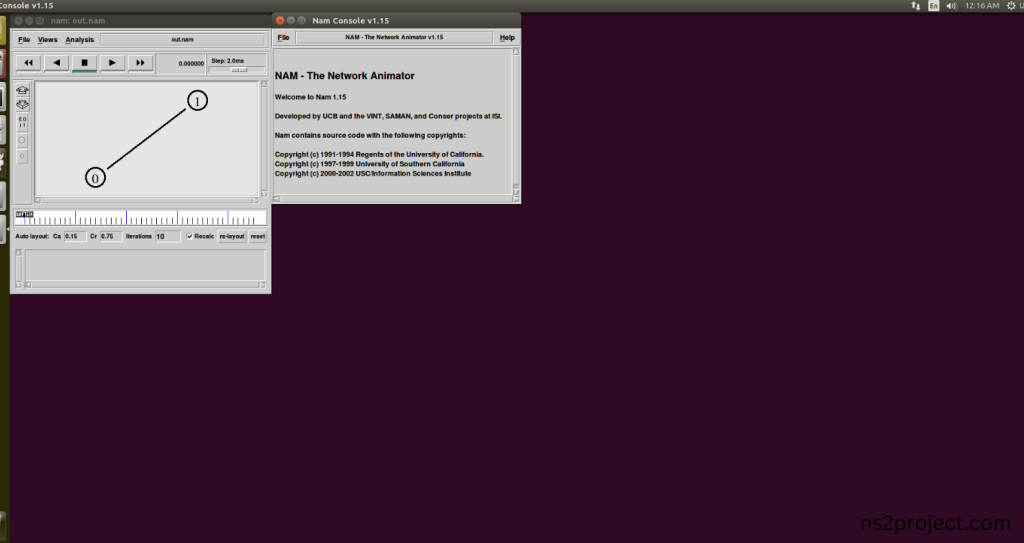
Here we shown the output of the example program by using ll.h.
Screenshot:
Screenshot:

Screenshot:
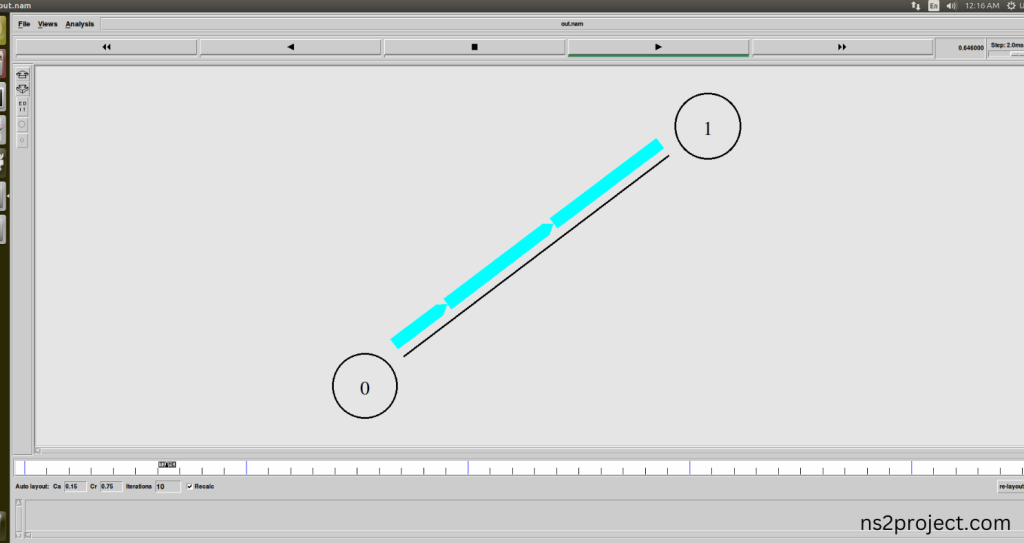
In the NS 2.35 Simulation Example Program, the ll.h Header file is successfully imported. We don’t just use fancy language. Our organized team is here to help you achieve the ideal outcomes for your LL.H PACKAGES project, customized to your requirements. If you’re having trouble coming up with project ideas, feel free to share them with us, and we’ll provide the best topic assistance. Our development team will support you in achieving optimal results, equipped with all the necessary tools and resources to guide you effectively. Access personalized research services at ns2projects.com. If you need further guidance on LL.H PACKAGES, contact us!


